Upscale Images on Mac: 4× Larger with Local AI
Every photo library has images that are too small for what they’re suddenly needed for — an old export saved at web size, a picture from an early phone, a product shot that now has to fill a banner. Print one, or blow it up on screen, and it turns soft and blocky. OtterPix’s AI Upscale enlarges an image up to 4× on your Mac and rebuilds edges and texture as it goes, so the result looks sharper, not just bigger.
Everything runs on-device: your photo is never uploaded, there are no per-image credits, and after a one-time model download the feature works offline.
Why plain resizing turns mushy — and AI upscaling doesn’t
A normal resize can only work with the pixels that already exist. Scale a 1,000-pixel-wide image up to 4,000 and every original pixel has to cover sixteen positions; the software fills the gaps by averaging neighbors. That’s exactly why enlarged photos look soft, and why hard edges pick up stair-stepping and halos.
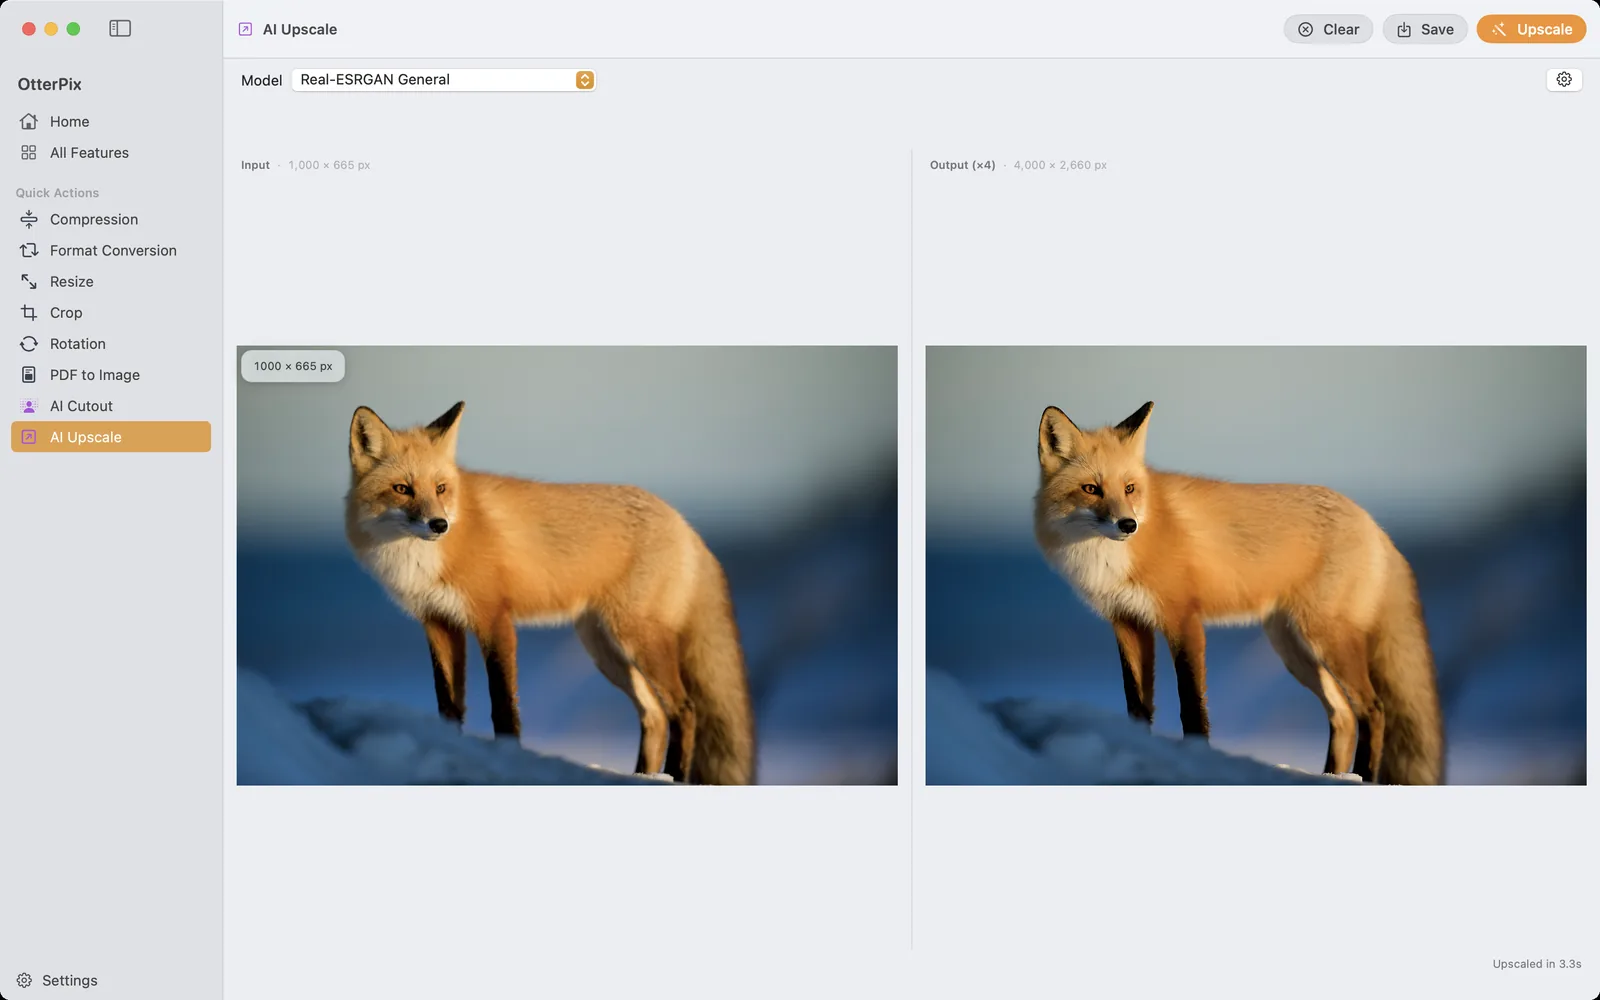
An AI upscaler approaches the problem from the other end. Trained on enormous numbers of image pairs, it has learned what fur, fabric, foliage and clean edges look like at high resolution — so instead of averaging pixels, it reconstructs plausible detail. Contours stay crisp; texture stays texture. In OtterPix the gain is easy to verify, because input and output sit side by side with their pixel dimensions above each pane: load a 1,000 × 665 px photo and the Output (×4) pane reads 4,000 × 2,660 px.
How to upscale an image in OtterPix
- Open OtterPix and click AI Upscale in the tools grid on the home screen.
- Drop a photo onto the drop zone, or click to choose a file.
- Pick a mode from the Model menu. On first use, OtterPix downloads that mode’s file once — they’re small, between 2.5 MB and 67 MB — and from then on it runs offline.
- Click Upscale. The whole computation runs locally on your Mac’s Apple silicon, and the result appears in the Output (×4) pane along with a readout of how long the run took.
- Compare the two panes: the pixel-dimension badges above Input and Output spell out the gain — 1,000 × 665 px in, 4,000 × 2,660 px out.
- Press Save (⌘S) and choose where the enlarged copy goes. Your original stays untouched.
Four modes — pick by content
The Model menu offers four modes, and choosing by what’s in the image makes a visible difference:
- Everyday photos: the fast general-photo mode (a 5 MB download) is the right default — quick runs, natural results.
- Prints and fine detail: the high-quality photo mode (67 MB) recovers finer texture; use it when the output is headed for paper.
- Anime and illustrations: a dedicated mode (18 MB) keeps line art clean and flat colors smooth instead of adding photo-style grain.
- Anime video frames: the smallest mode (2.5 MB) is tuned for stills exported from animated video.
Trying a second mode on the same photo is easy — the input stays loaded, so you can re-run and compare before you save anything.
Enlarging a portrait? Pair it with AI Face Restore
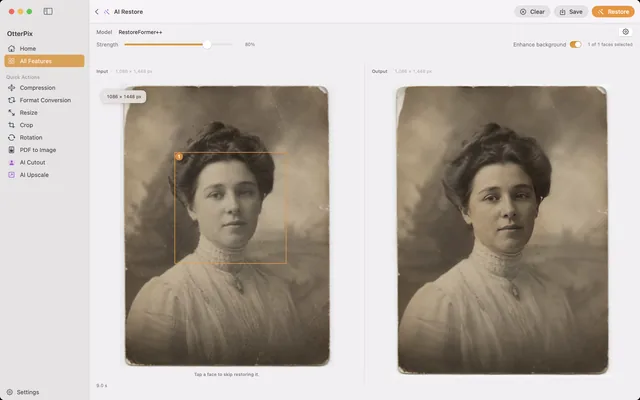
Upscaling treats the whole image equally, and faces are the one subject where “plausible texture” isn’t enough — we’re hypersensitive to eyes and skin. OtterPix has a separate tool for exactly that: AI Face Restore detects each face and rebuilds facial detail specifically, which makes it the better choice when the face itself is blurry, over-compressed or scanned from an old print.
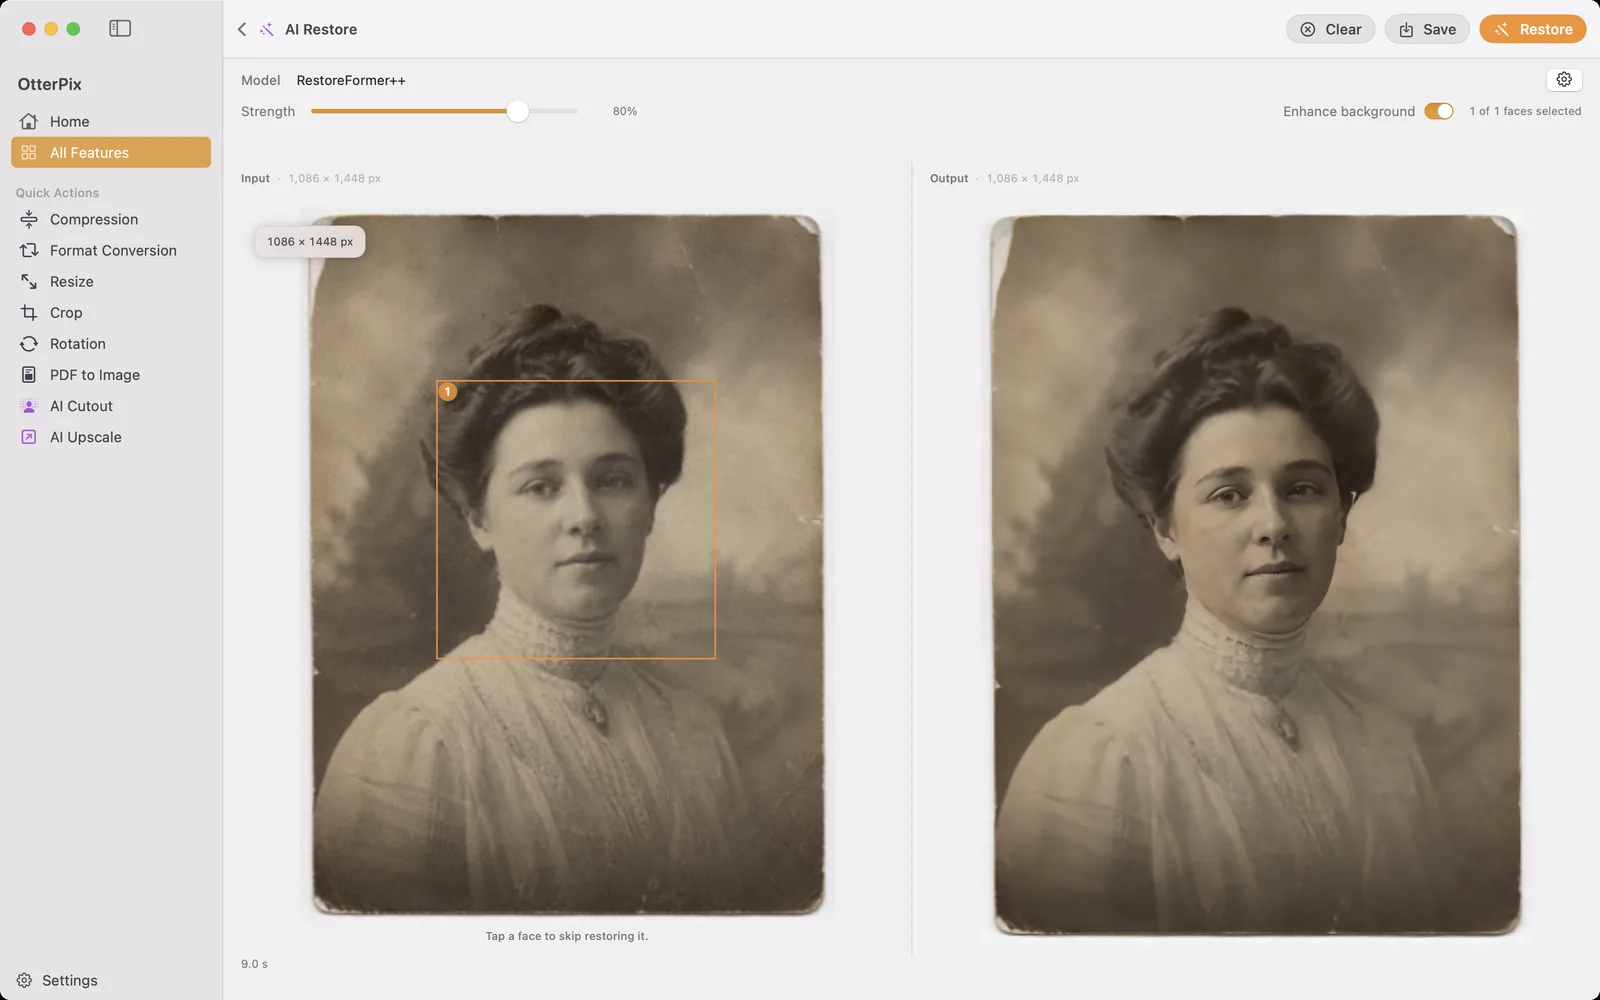
Keep that division of labor in mind: Face Restore works on faces only — scratches, creases and the background are outside its scope. For an old photo that needs to be both sharp and large, run AI Face Restore first, save, then feed the result to AI Upscale.
After upscaling: mind the file size
Quadrupling both dimensions means sixteen times the pixels, and the saved file grows accordingly. For print, keep the full-size output. For a website or an email attachment, run the enlarged image through OtterPix’s Compression tool afterwards — you keep the new resolution and shed most of the weight. Both steps run locally on your Mac.
Frequently asked questions
How much larger can OtterPix make an image?
Each run enlarges an image to 4× its original width and height — a 1,000 × 665 px photo becomes 4,000 × 2,660 px, sixteen times the pixel count. The pixel-dimension badges above the input and output panes show the exact numbers.
Which upscale mode should I use?
Start with the fast general-photo mode for everyday shots. Pick the high-quality photo mode for prints, the anime/illustration mode for line art and flat colors, and the anime-video mode for frames exported from animated footage. You can re-run the same photo with a different mode and compare before saving.
Will text and logos stay sharp when upscaled?
AI upscaling is strongest on photographic content — fur, skin, fabric, landscapes. Hard graphic edges such as small text or logos vary: clean, larger shapes usually survive well, but tiny or already-illegible text won’t become readable. For illustrations, the anime mode handles flat colors and outlines better than the photo modes.
What resolution do I need for printing?
A common rule of thumb is about 300 DPI: divide the pixel dimensions by 300 to get the printable size in inches. A 1,000-pixel-wide image covers about 3.3 inches; after a 4× upscale the same photo covers roughly 13 inches — wider than a letter-size page in landscape.
How does the free daily run work?
AI Upscale is part of OtterPix Pro, and non-subscribers get one free successful run per day. It’s counted per loaded image, so re-running the same photo — say, to try another mode — doesn’t use anything extra. The allowance resets at local midnight; Pro removes the limit.
Try it on your own photos
OtterPix is free on the Mac App Store — run each Pro AI feature free once a day. OtterPix Pro unlocks unlimited runs.