Compress Images on Mac Without Visible Quality Loss
It always happens at the worst moment: the email bounces because three photos pushed the attachment over the limit, the upload form rejects anything above 5 MB, the cloud drive is suddenly full. Modern cameras and iPhones take gorgeous photos — and most of the time those files are far bigger than the job in front of you actually needs.
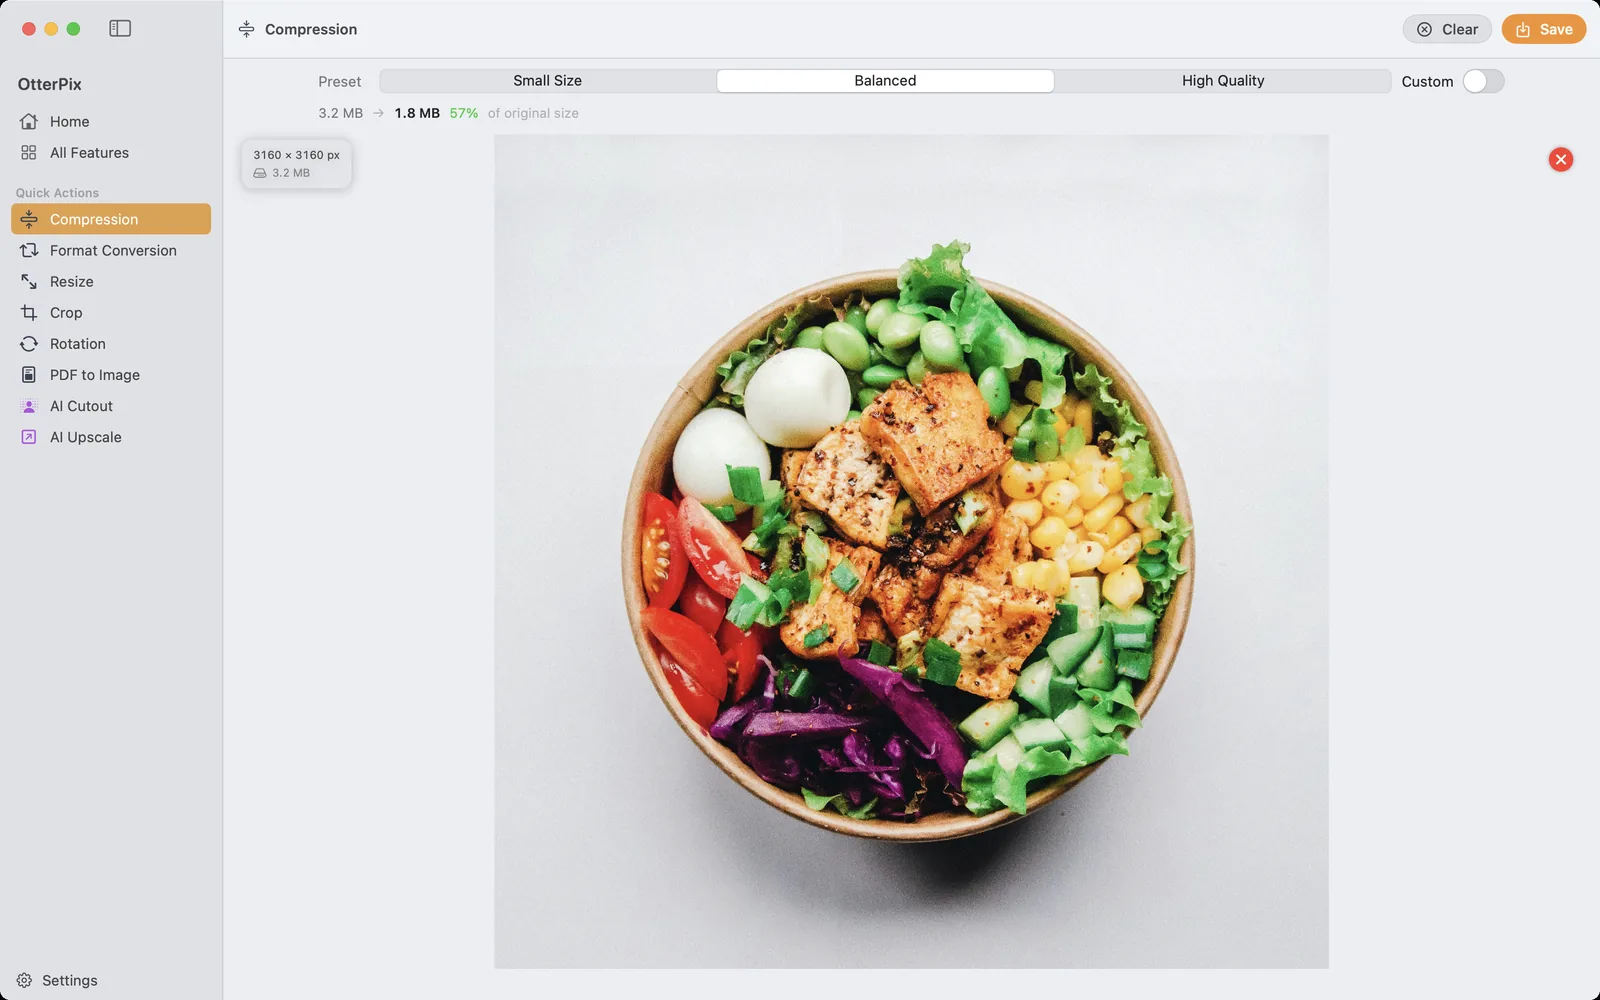
OtterPix compresses JPG, PNG, WebP and AVIF images right on your Mac, and it shows you the outcome before you commit: one line with the original size, the new size and the percentage that remains — before anything is saved. No uploading your photos to a compressor website, no exporting blind and checking the result in Finder afterwards.
Lossy or lossless — what compressing an image really does
Image compression comes in two flavors. Lossy formats — JPEG, WebP, AVIF — shrink files by discarding detail your eye is unlikely to miss, and a quality setting decides how much goes. Lossless compression, which is how PNG works, just packs the data tighter: every pixel stays exactly as it was, which is why a PNG never looks worse but also can’t shrink very far.
For photos, lossy is almost always the right call — at a sensible quality level the difference is genuinely hard to see, and the savings are real. The trouble with most tools is that you pick a quality number blind and only find out the file size after exporting. OtterPix flips that around: as you switch presets or drag the quality slider, the readout updates — original size → new size, plus what percentage of the original you’d keep. And if a setting would actually make the file bigger (it happens with already-optimized images), OtterPix keeps your original and says so, instead of quietly handing you a worse file.
How to compress images in OtterPix
Compression is one of OtterPix’s free tools, and the same flow covers a single photo or a whole batch.
- Open OtterPix and click Compression in the tools grid.
- Drop a photo onto the drop zone — or a whole batch at once. With multiple files, a filmstrip appears along the bottom.
- Pick a preset: Small Size, Balanced or High Quality. They run from smallest file to finest quality, left to right, and adapt to each image instead of applying one fixed number.
- Need an exact level? Switch on Custom and drag the Quality slider (10–100%).
- Check the readout above the preview: original size → new size, plus the percentage of the original. Green means the file got smaller.
- Click Save (⌘S) — or Process All for a batch — and choose where the compressed files are saved.
JPEG, WebP or AVIF — which format saves the most?
If the image has to stay in its current format, just compress it and watch the readout. If you’re free to choose, WebP and AVIF usually produce smaller files than JPEG for photos at similar quality. WebP is widely supported by now; AVIF often squeezes files further still but is younger, so some older software won’t open it. For your own website, either is a fine pick — for photos you send to other people, JPEG is still the safest to open everywhere. OtterPix’s Format Conversion tool switches between all of these formats, with the same kind of quality control on the way out.
Screenshots and graphics are the exception. PNG is lossless by design, so OtterPix re-encodes it without a quality setting and shows a short hint in place of the slider. If a screenshot really needs to be a lot smaller, converting it to WebP usually achieves more than re-packing the PNG.
Compressing a whole folder at once
For a folder of photos you don’t need anything special: drop them all into Compression together. A filmstrip appears along the bottom, a badge in the corner of the preview shows the selected image’s estimated result — the same original → new size readout, one image at a time — and Process All compresses the entire batch in one run. Because the presets adapt per image, a detail-dense photo and a simple graphic each get their own treatment.
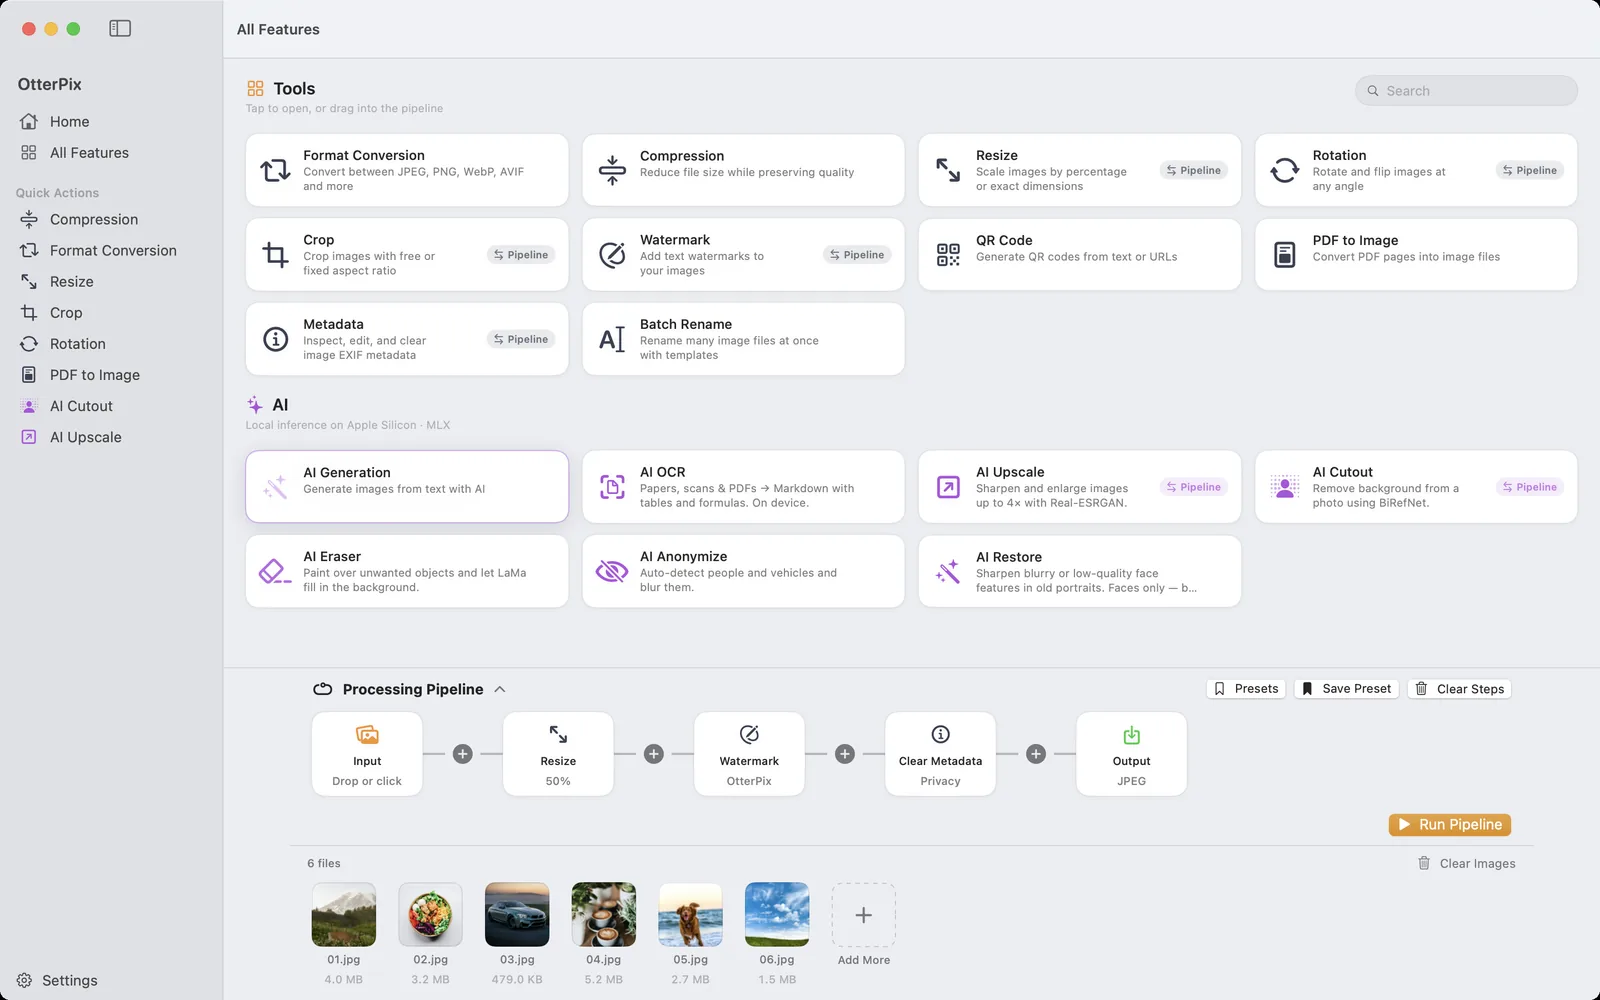
When compression is one step in a bigger routine — resize to a web-friendly width, add a watermark, switch formats — build it in the Pipeline instead. Drop your images in, chain the steps you need, and set the output format and quality on the Output node: that single setting compresses every image in the batch as it exports. Save the chain as a preset, and next week’s folder is one click. And because everything runs locally, a 300-photo batch is processed exactly as privately as one image — nothing ever leaves your Mac.
Frequently asked questions
How much smaller will my photos get?
It depends on the image — a detail-rich photo compresses differently from a simple graphic, and images that were already optimized may barely shrink at all. That’s exactly why OtterPix shows the original → new size readout before you save: you see the real number for your photo, not a promise. If re-encoding would make a file bigger, OtterPix keeps the original and tells you it’s already optimal.
What’s the difference between lossy and lossless compression?
Lossy compression (JPEG, WebP, AVIF) shrinks files by discarding fine detail — the quality setting controls how much, and at sensible settings the change is hard to spot. Lossless compression (PNG) repacks the data without altering any pixels, so the image never degrades but files shrink less. For photos, lossy at a moderate quality is usually the better trade.
Can I compress a whole folder of photos at once?
Yes. Drop the whole batch into the Compression tool and click Process All, or build a Pipeline and set format and quality on the Output node — handy when you also want to resize or watermark in the same pass.
Does compressing an image remove its EXIF data?
Don’t rely on compression for that. If metadata needs to be gone for sure — GPS coordinates before you share, say — use OtterPix’s Metadata tool, which reads, edits and strips EXIF, GPS and IPTC data across one or many images. That way removal is an explicit step rather than a side effect.
Should I use WebP or AVIF instead of JPEG?
For photos at similar quality, WebP and AVIF usually produce smaller files than JPEG. WebP enjoys broad support at this point; AVIF often compresses further but is newer, so some older apps won’t open it. For your own website either is a solid choice — for sharing with other people, JPEG is still the most universally compatible.
Get OtterPix for Mac
Free on the Mac App Store. Every basic tool is free forever, and nothing you open ever leaves your Mac.

Related guides
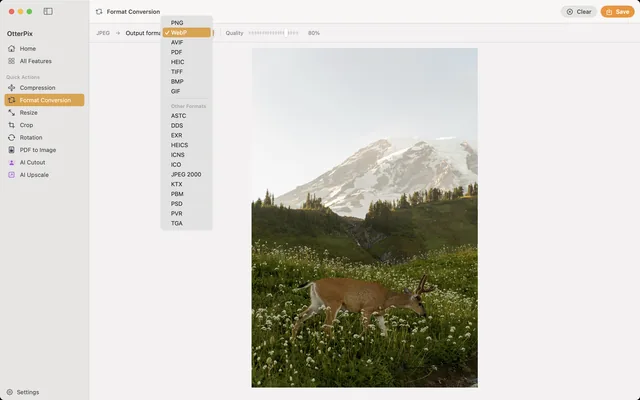
How to Convert HEIC to JPG on Mac (Free & Offline)
iPhone photos that won’t open elsewhere? Batch-convert HEIC to JPG on your Mac, offline.
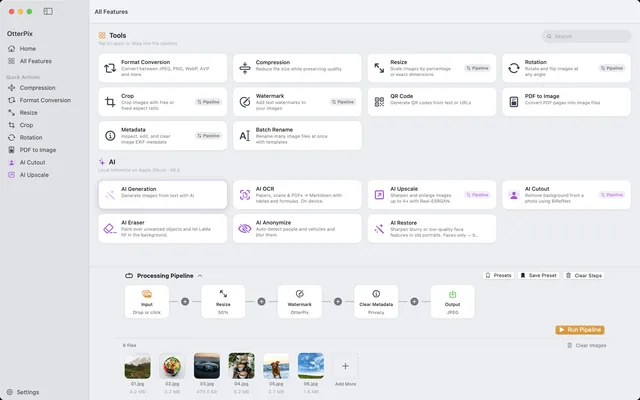
Batch Convert, Resize & Rename Images on Mac — One Click
One folder in, finished images out: chain resize, watermark, convert and rename once.
Upscale Images on Mac: 4× Larger with Local AI
Too small for print? Enlarge photos up to 4× with on-device AI — right on your Mac.