Batch Convert, Resize & Rename Images on Mac — One Click
A shoot wraps and you’re left with 200 photos that all need the same treatment: scale them down, add your name as a watermark, convert the lot to JPEG and give the files sensible names. Do that one image at a time and your afternoon is gone. Do it one tool at a time and you’re still running the same folder through four separate passes.
OtterPix solves this with its Processing Pipeline: you build the chain of steps once, drop the whole folder onto it, and everything runs in a single pass — one batch edit, right on your Mac, with nothing uploaded anywhere. The Pipeline and every basic tool in it are free.
How the Pipeline works: Input → steps → Output
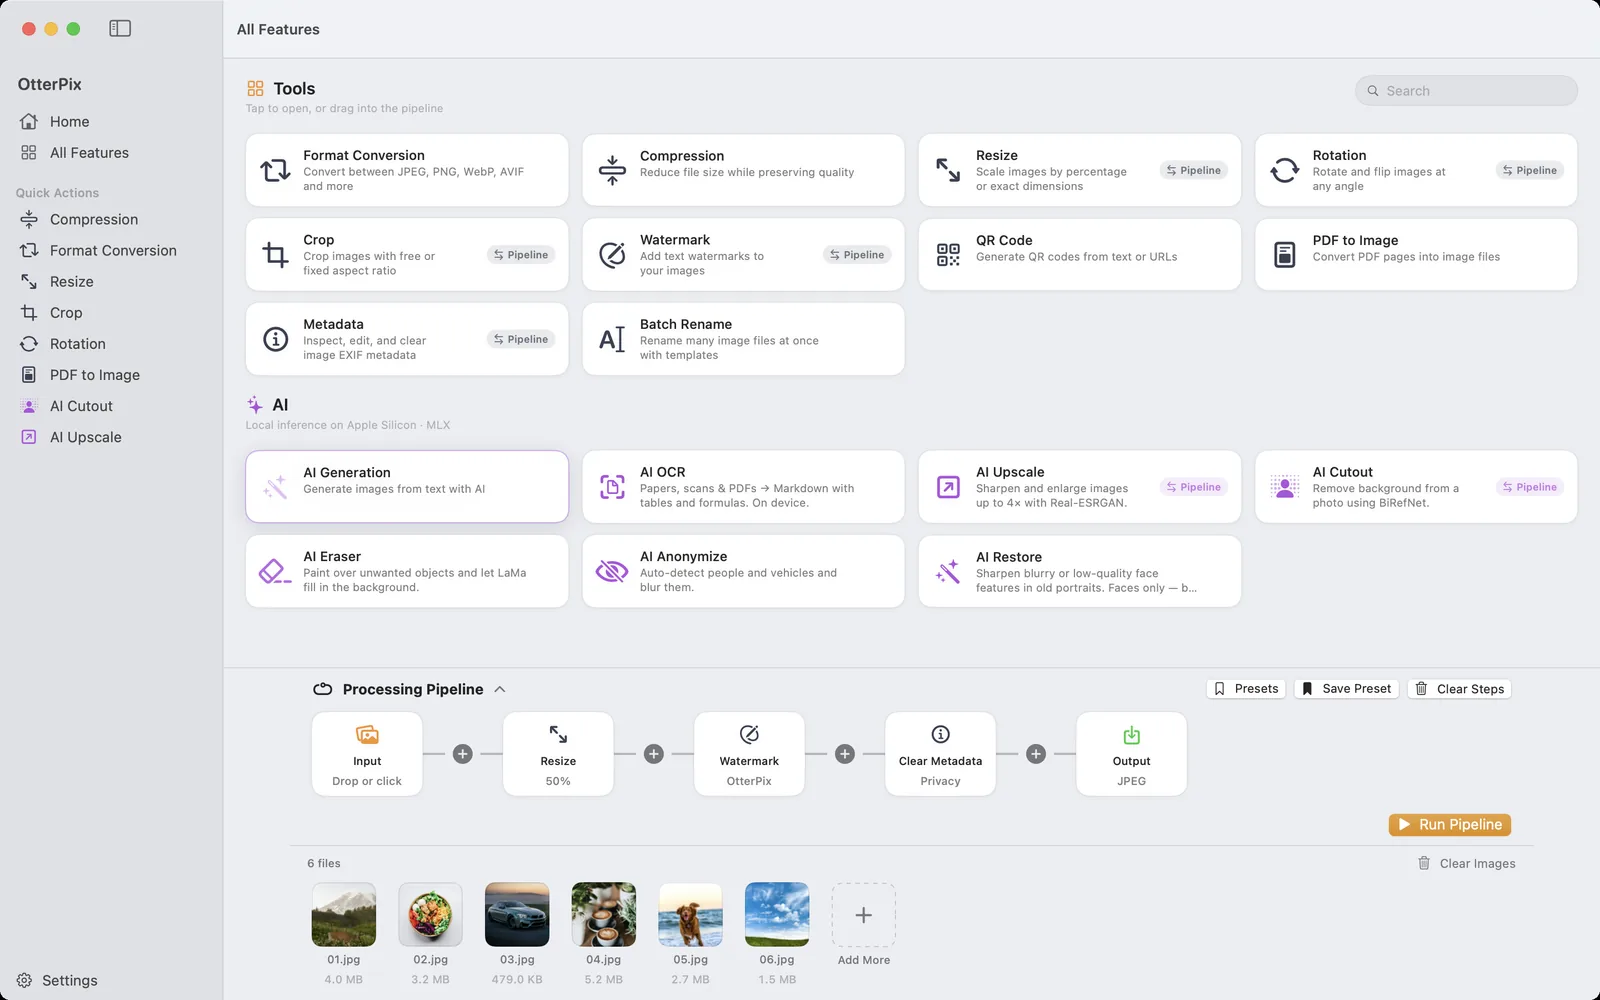
The Pipeline is a row of nodes. On the left sits the Input node, where you drop your images; on the right, the Output node. Between them you chain processing steps — Resize, Rotate, Crop, Watermark and Clear Metadata — in whatever order you need. Each step brings the familiar controls of the standalone tool it’s named after, so there’s nothing new to learn.
Format conversion and compression don’t need steps of their own — they belong to the Output node. Pick JPEG, PNG, WebP, AVIF, TIFF, BMP or HEIC there, set the quality, and the entire batch is converted as it’s saved. That’s deliberate: whatever your chain does, output format and quality are decided once, in one place.
How to batch-process a whole folder in one run
Here’s the chain from the screenshot above — resize, watermark, strip metadata, save as JPEG — built from scratch:
- Open OtterPix and click All Features in the sidebar. The Processing Pipeline is docked at the bottom — click its header to expand it.
- Drag your folder onto the Input node (it says “Drop or click”). Every image inside appears in the file strip under the chain.
- Click a + between the nodes and add a Resize step. Set a percentage or exact pixel dimensions — say, 50% for web delivery.
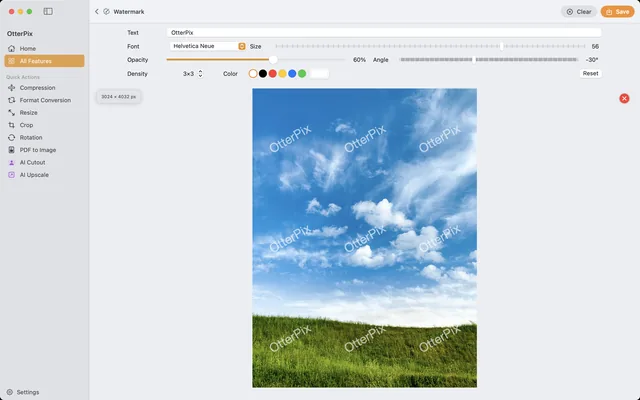
- Add a Watermark step and type your text — a name, brand or copyright line — then pick font, color, angle and opacity. If the photos are leaving the house, add Clear Metadata too: it strips EXIF and GPS data in the same pass.
- On the Output node, choose the format and quality for the whole batch — JPEG for compatibility, WebP or AVIF for smaller files.
- Click Run Pipeline. OtterPix works through the entire folder and saves the finished images to the output destination you’ve chosen.
If this is a chain you’ll need again, click Save Preset and give it a name — “Client delivery”, say. Next time the whole setup is one click away under Presets: load it, drop the new folder, run. A recurring half-hour chore shrinks to a few clicks.
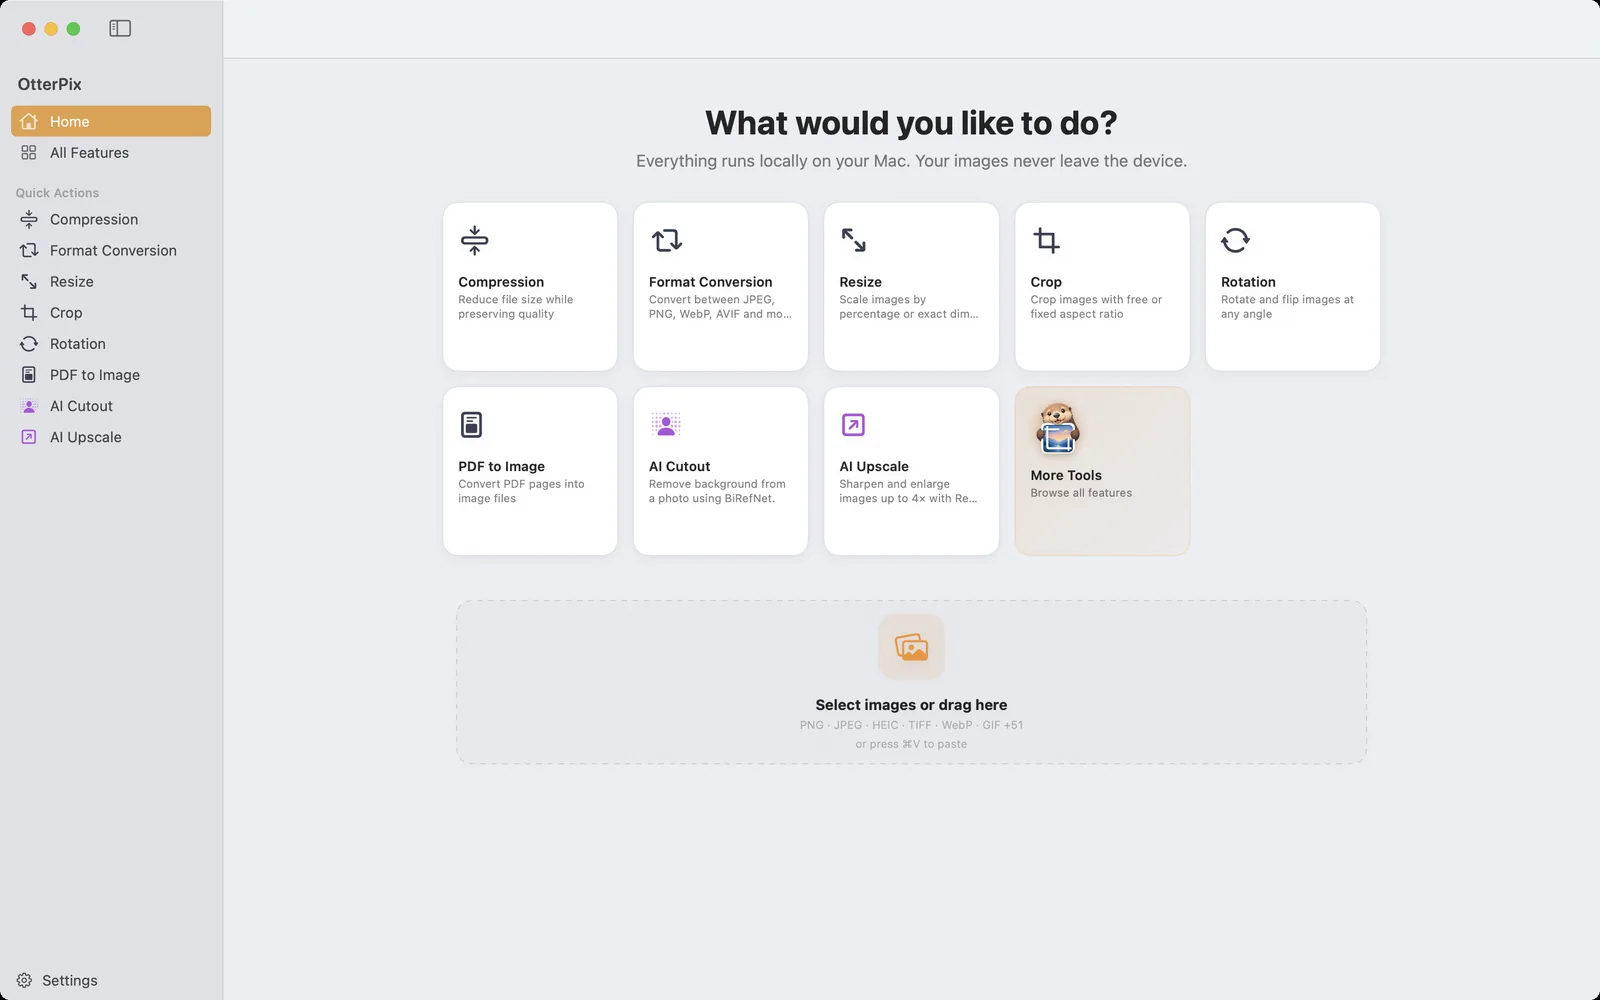
Batch rename with EXIF tokens: camera, date, counter
Tidy filenames are the other half of a clean delivery, and OtterPix ships a dedicated Batch Rename tool for exactly that. Instead of typing names, you write a template once using tokens in curly braces, and OtterPix fills them in per file: {date} inserts the capture date from EXIF (falling back to the file’s modified date), {exif:camera} inserts the camera’s make and model, and {counter:3} numbers the files with zero-padding — 001, 002, 003 and so on.
A template like {date:yyyy-MM-dd}_{exif:camera}_{counter:3} turns IMG_4482.jpg into 2026-07-12_NIKON D850_001.jpg. You control the counter’s start and step, sort the list by name, EXIF date or modified date before numbering, and a live preview shows every resulting filename — including any conflicts — before anything happens. Find & Replace (with regular expressions) and case transforms round it out.
Renamed files are written to a folder you choose; your originals stay in place unless you explicitly enable “Move originals to Trash”.
What’s free — and what Pro adds
Everything this guide used is free: the Pipeline itself, the Resize, Watermark and Clear Metadata steps, format conversion on the Output node, and the Batch Rename tool. All of it runs locally on your Mac — your photos are never uploaded. Subscribers can additionally drop the two on-device AI steps, AI Upscale and AI Cutout, into the same chain.
Frequently asked questions
Which steps can I chain in an OtterPix pipeline?
Resize, Rotate, Crop, text Watermark and Clear Metadata, in any order. Output format (PNG, JPEG, TIFF, BMP, HEIC, WebP, AVIF) and quality are set on the Output node rather than as separate steps. Subscribers can also add the two on-device AI steps, AI Upscale and AI Cutout.
Are my original images overwritten?
The pipeline saves its results to the output destination its settings point to, so you decide where finished images land. Batch Rename likewise writes the renamed files to a folder you choose and leaves the originals in place unless you turn on “Move originals to Trash”.
How many images can I process at once?
There’s no fixed limit — the Pipeline is built to batch-process whole folders. Every step runs locally on your Mac, so a bigger batch simply takes proportionally longer; nothing is uploaded.
Can I save a pipeline and reuse it?
Yes. Click Save Preset to store the current chain under a name. Your saved chains live under Presets — load one, drop a new folder onto the Input node and run.
Which rename tokens does Batch Rename support?
{name} (original filename), {ext} (extension), {counter} with optional zero-padding like {counter:3}, {date} for the EXIF capture date with custom formats, {mdate} for the file’s modified date, and {exif:camera} for the camera’s make and model.
Get OtterPix for Mac
Free on the Mac App Store. Every basic tool is free forever, and nothing you open ever leaves your Mac.

Related guides
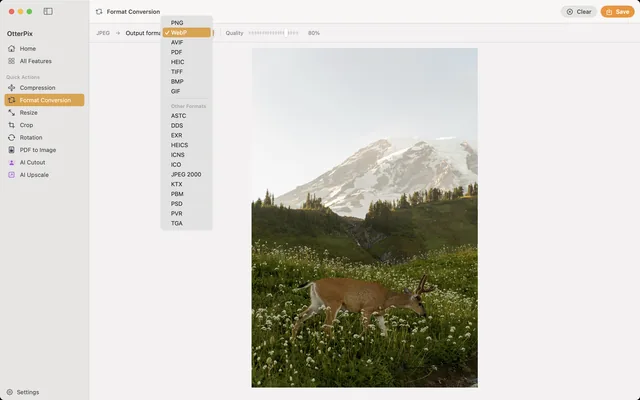
How to Convert HEIC to JPG on Mac (Free & Offline)
iPhone photos that won’t open elsewhere? Batch-convert HEIC to JPG on your Mac, offline.
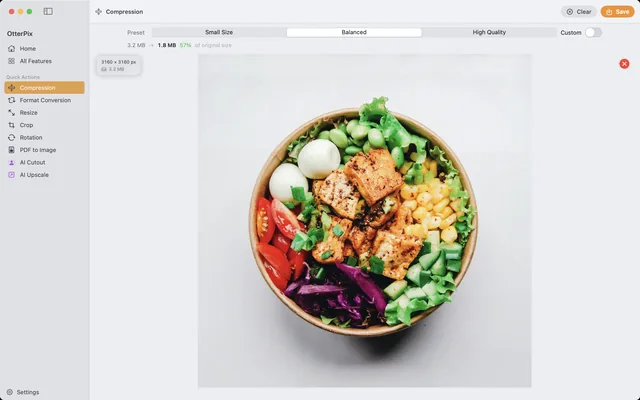
Compress Images on Mac Without Visible Quality Loss
Shrink photos for email, web or cloud — and see the new file size before you save.
Batch Watermark Photos on Mac (Free Text Watermarks)
Put your name on every shot — watermark a whole folder at once, right on your Mac.