How to Convert HEIC to JPG on Mac (Free & Offline)
You email a few iPhone photos, upload them to a web form, or drop them off for printing — and the answer comes back: “I can’t open these.” The culprit is almost always the file extension: .heic. iPhones have saved photos as HEIC by default since iOS 11, and much of the world outside Apple’s ecosystem still runs on JPG — Windows PCs, older software, print services and plenty of upload forms.
The fix doesn’t require a web converter. OtterPix converts HEIC to JPG right on your Mac — one photo or a few hundred in a single pass. The tool is free, not a trial, and nothing is uploaded anywhere. When the folder in question is your personal camera roll, that last part matters.
Why HEIC files won’t open (and when you need JPG)
HEIC (High Efficiency Image Container) is Apple’s space-saving photo format: a picture that looks the same as a JPG at roughly half the file size. That’s great for your iPhone’s storage, and your Mac opens HEIC natively. The trouble starts once a file leaves the Apple ecosystem — older Windows machines, many upload forms, older image editors and some printing services either reject it or can’t display it. The format that opens everywhere, on everything, is still JPG.
For a single photo, macOS has you covered: open it in Preview, choose File → Export, pick JPEG. That’s fine once. But Preview doesn’t remember your settings and makes you repeat the routine for every file — nobody exports a 40-photo album that way. Web converters do handle batches, but they flip the trade: every personal photo is uploaded to someone else’s server just to come back with a new extension. A local batch converter gives you both halves — bulk speed and zero uploads.
How to convert HEIC to JPG in OtterPix
The whole job takes under a minute, and your original files are never modified.
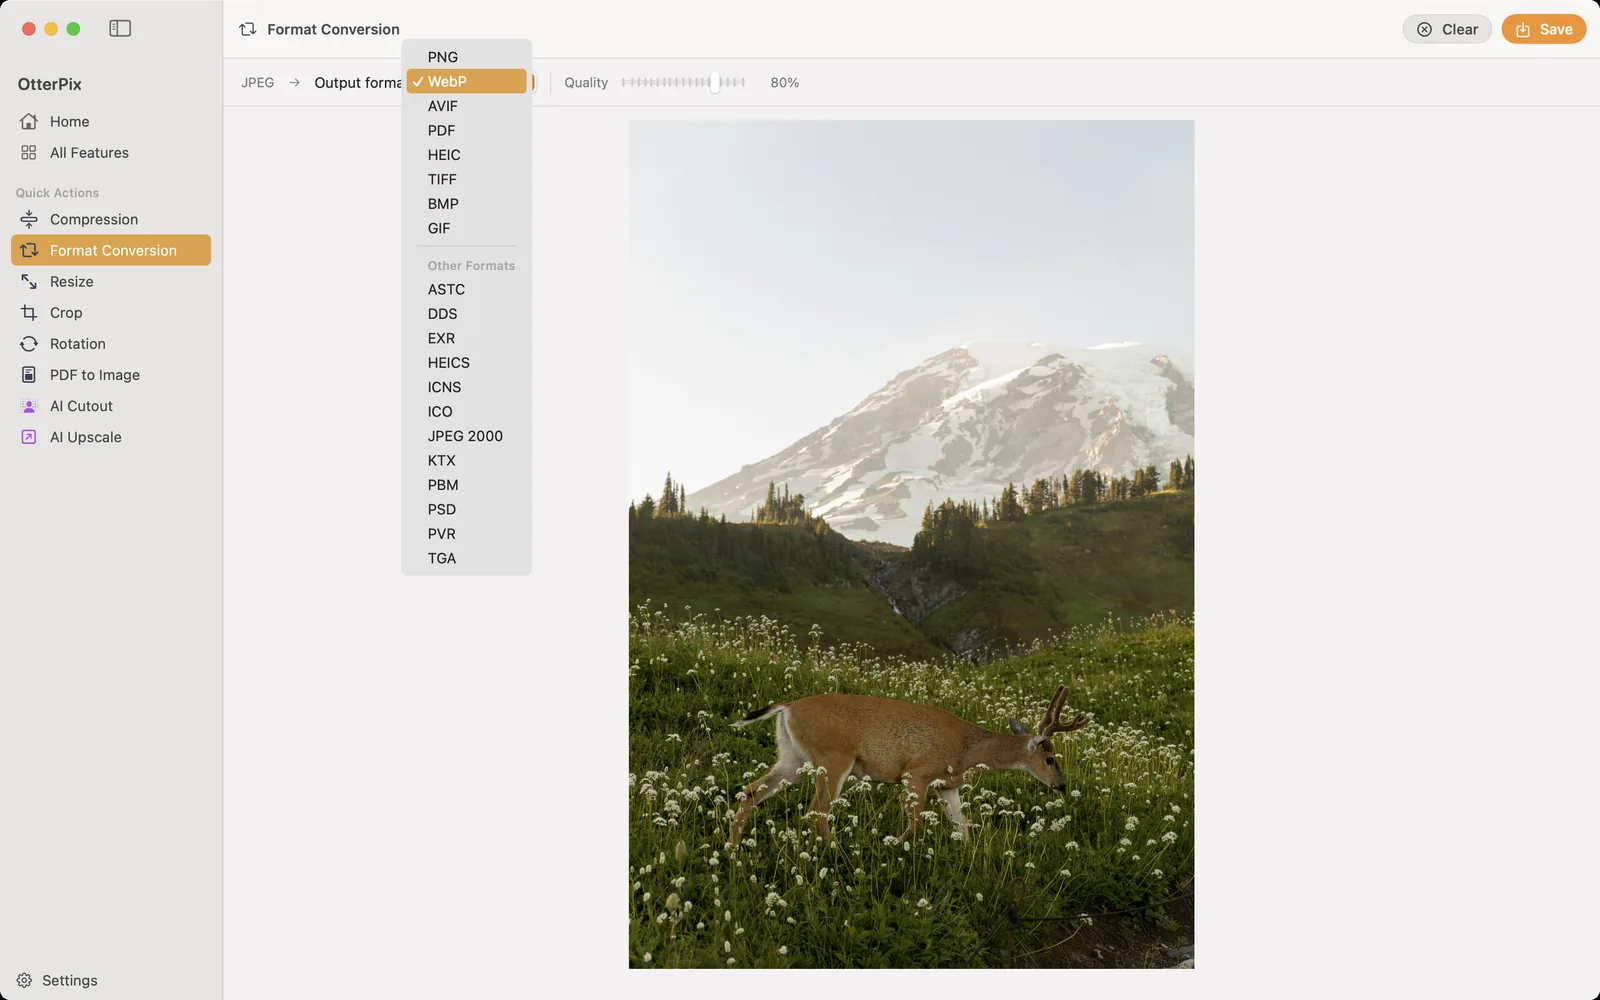
- Open OtterPix and click Format Conversion in the tools grid on the home screen.
- Drag your HEIC photos onto the drop zone — one file or a whole batch at once. You can also click to browse.
- Choose JPEG as the output format. The same menu also converts to PNG, WebP, AVIF, TIFF and BMP.
- Set the quality slider, which appears for lossy formats like JPEG — higher keeps more detail, lower makes smaller files.
- Press Save (⌘S) and choose where the converted copies should go. Your original HEIC files stay exactly as they were.
Turn it into a one-click batch workflow
If you clear out iPhone photos every week, don’t repeat those clicks — build the job once in the Pipeline instead. Drop a whole folder in, and the Output node decides the format and quality for every image in the batch: set it to JPEG, pick a quality, and conversion plus compression happen together in one run.
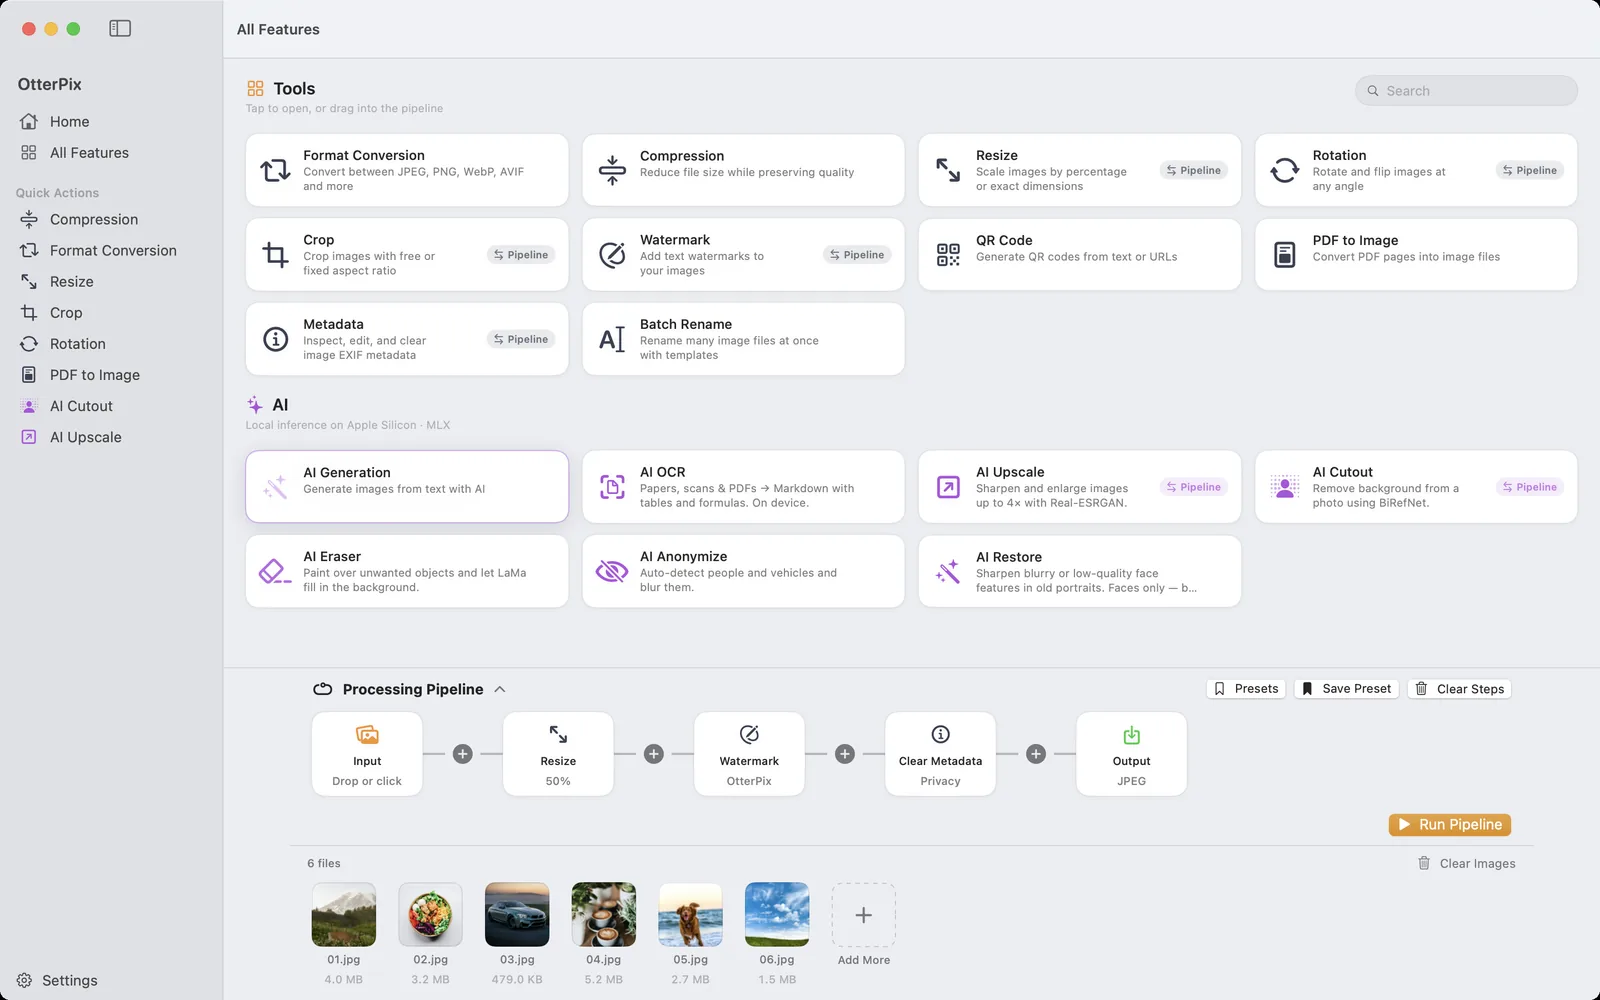
The same pass can carry more steps: resize everything to a web-friendly width, stamp a text watermark, or add a Clear Metadata step so location data doesn’t travel with the files. Save the chain as a preset and next week’s batch takes one click. Want tidy file names as well? Run the results through the free Batch Rename tool afterwards — it renames on templates with EXIF tokens such as camera or date. And because everything runs locally, a 300-photo folder converts as privately as a single image.
HEIC, JPG, WebP — a quick format cheat-sheet
OtterPix converts between seven formats, so the five steps above work for any target. When to pick which:
- JPG / JPEG — the universal choice for photos. It opens everywhere; use it whenever another person, device or website is involved.
- PNG — keeps every pixel and supports transparency. Best for screenshots, logos and UI graphics; larger files for photos.
- WebP — noticeably smaller than JPG at similar quality. A good pick for websites you control.
- AVIF — newer and often smaller still, supported by modern browsers.
- HEIC — Apple’s efficient default. Fine inside the Apple world, awkward outside it.
- TIFF — big and faithful; a common handoff format for print work and archiving.
- BMP — a legacy Windows format; only needed when an old program insists on it.
Frequently asked questions
How do I open a HEIC file on my Mac?
Double-click it — Preview and the Photos app open HEIC natively on any recent macOS. The problem usually isn’t your Mac but where the file goes next: Windows PCs, older programs and many upload forms don’t accept it. That’s when converting to JPG helps.
Does converting HEIC to JPG lose quality?
JPG is a lossy format, so the image is re-encoded. At a high quality setting the difference is very hard to spot in everyday photos, and OtterPix lets you choose the quality before saving. Your HEIC originals stay untouched, so you can always re-convert.
How do I batch-convert a whole folder of HEIC photos?
Either drag the whole selection into Format Conversion and save once, or drop the folder into the Pipeline, set the Output node to JPEG, and save the setup as a preset for next time. Both convert every file in a single run.
Can I convert HEIC to WebP or AVIF instead of JPG?
Yes. OtterPix converts between PNG, JPEG, TIFF, BMP, HEIC, WebP and AVIF — pick any of them as the output format in the same menu.
Is the HEIC converter free, and does it work offline?
Yes to both. Format Conversion is one of OtterPix’s free built-in tools, and it runs entirely on your Mac — no internet needed, nothing uploaded. (Only the optional AI features download a model once on first use; after that they run locally too.)
Get OtterPix for Mac
Free on the Mac App Store. Every basic tool is free forever, and nothing you open ever leaves your Mac.

Related guides
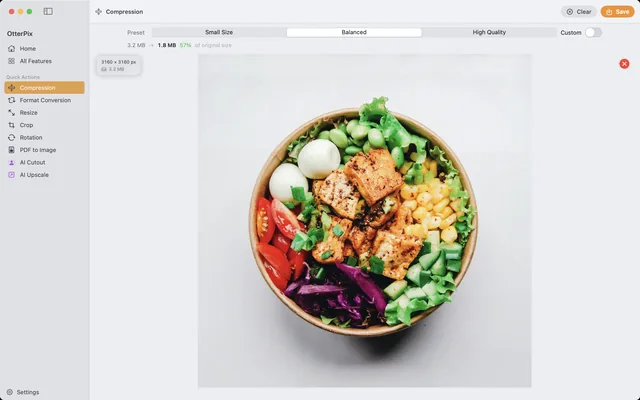
Compress Images on Mac Without Visible Quality Loss
Shrink photos for email, web or cloud — and see the new file size before you save.
Batch Convert, Resize & Rename Images on Mac — One Click
One folder in, finished images out: chain resize, watermark, convert and rename once.
View & Remove EXIF Data on Mac (GPS Location Included)
Your photos know where you live. See the EXIF and GPS inside, then strip it — on your Mac.