Batch Rename Photos on Mac by Date, Camera or Number
Cameras and phones name files for their own convenience, not yours. IMG_4482.jpg, DSC_0193.JPG, PXL_20260514_103322.jpg: the names say nothing about the trip, and once photos from two devices end up in one folder, sorting by name no longer puts them in the order they were taken. Worse, two cameras can produce the very same file name, and one copy quietly replaces the other.
Finder can rename a selection in one go, replacing text or adding a running number, but it cannot look inside the photos. The date a picture was taken and the camera that took it live in its EXIF metadata. OtterPix’s free Batch Rename tool reads that metadata and builds each new name from it, on your Mac, with a preview of every result before a single file is written.
Templates and tokens: how a new name is built
Instead of typing names, you write one template. Text in curly braces is a token that OtterPix fills in per file; everything else is copied as written. The default template is {name}_{counter:03}.{ext}, which keeps the original name and appends 001, 002, 003. These are the tokens, all of them available as chips under the Template field:
- {name}: the original file name without its extension.
- {ext}: the original extension, such as jpg or heic.
- {counter}: a running number. {counter:03} pads it to three digits (001, 002…); Counter start and step set where it begins and how it counts.
- {date}: the capture date from EXIF, written as 2026-05-14. {date:yyyy-MM-dd} or {date:yyyyMMdd_HHmmss} choose your own pattern, including the time.
- {mdate}: the file’s modified date, with the same custom patterns.
- {exif:camera}: the camera make and model from EXIF, such as Apple iPhone 15 Pro.
Put together, {date:yyyy-MM-dd}_{exif:camera}_{counter:03}.{ext} turns IMG_4482.heic into 2026-05-14_Apple iPhone 15 Pro_001.heic. Names that start with the date sort chronologically in any app, and the counter keeps two shots from the same second apart.
Renaming a folder of photos in seven steps
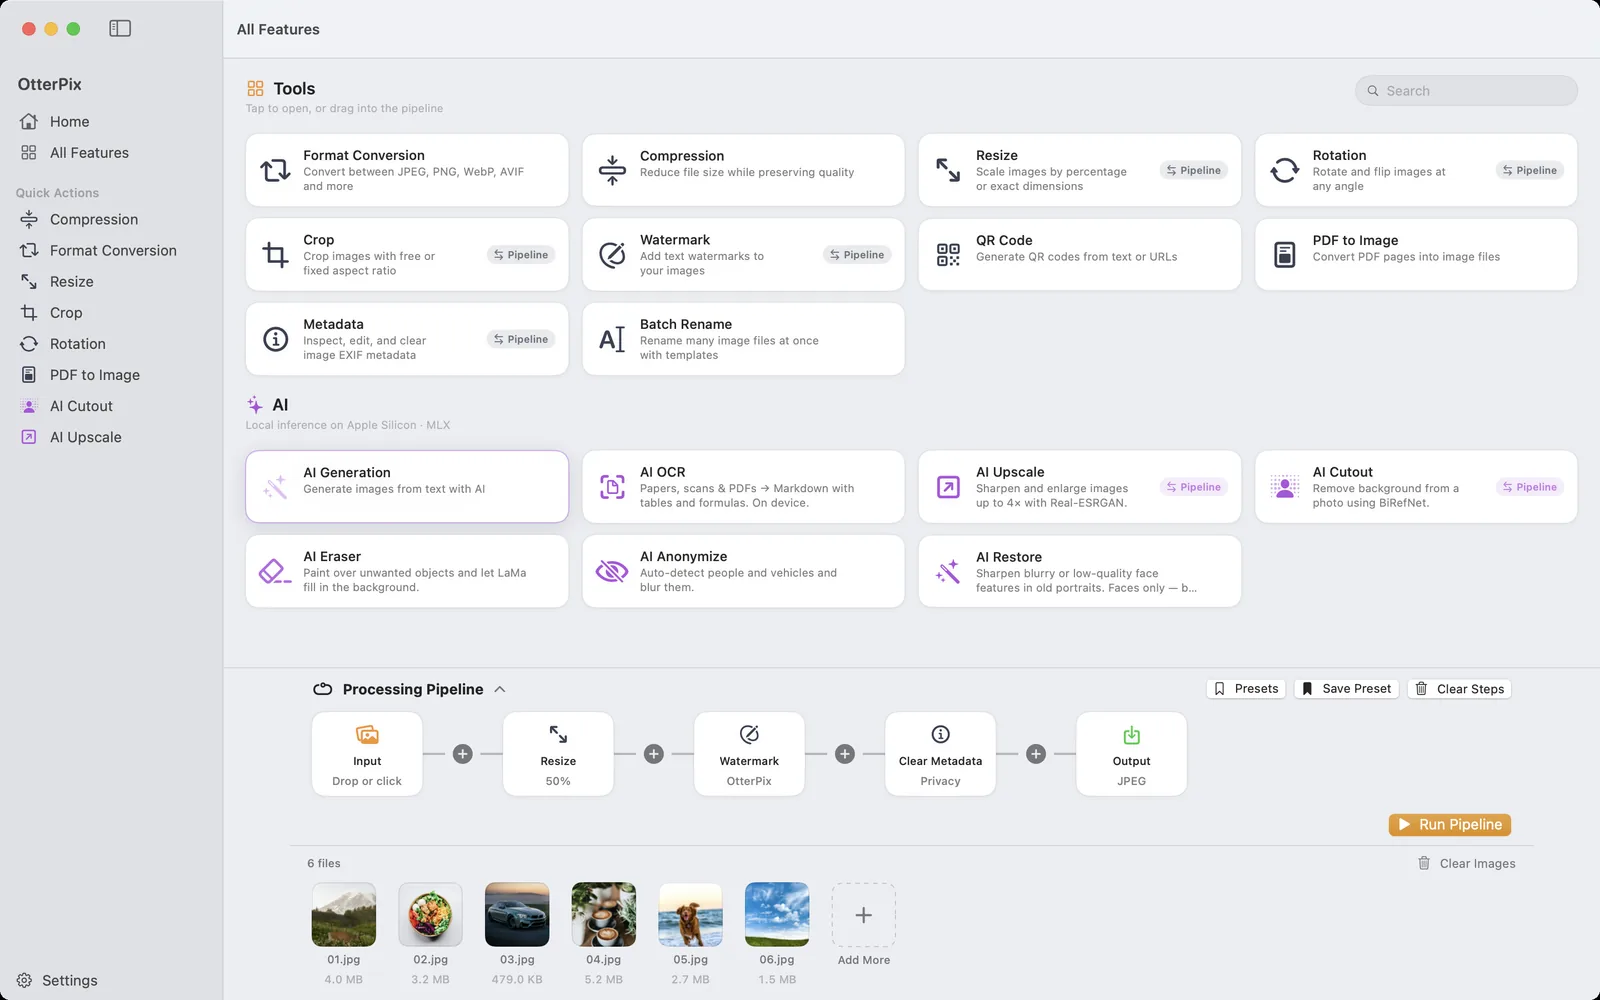
- Open OtterPix, click All Features in the sidebar and choose Batch Rename.
- Drag your photos onto the drop zone. To add more later, use Add Files….
- Under Sort by, pick EXIF date so the counter follows the order the photos were taken. Name and Modified date are the other choices.
- Type your pattern into the Template field, or click the token chips to insert them at the cursor.
- If the numbering should not start at 1, change Counter start, and step if you want to count in tens or twos.
- Read the Preview column. Every file’s new name appears as you type, and clashes are flagged as conflicts, such as “2 conflict(s)”, before anything happens.
- Click Process All (⌘S), then Choose Folder. The renamed files are written to that folder.
Why the sort order matters
The counter is handed out in the order of the list, so Sort by decides which photo becomes 001. Sorting by Name follows the camera’s own numbering, which works for one camera but scrambles a folder that mixes a phone and a camera. EXIF date uses the moment each photo was taken and gives one clean timeline across devices. Modified date is the right choice for screenshots, scans and exported graphics, which usually carry no capture date.
The same applies to the {date} token: when a file has no EXIF capture date, it uses the file’s modified date instead. If a batch of camera photos suddenly shows today’s date in the preview, they were most likely exported by an app that dropped their metadata. The free Metadata tool shows which dates a file really carries.
Find & Replace, case and the original files
Find & Replace runs after the template. Find “IMG_” and leave Replace empty to drop a prefix, or replace a space with a hyphen so camera names like Apple iPhone 15 Pro become web-friendly. Turn on Regular expression for patterns, for example \s+ to catch any run of spaces at once. Case then sets the final form: Keep, lowercase, UPPERCASE or Title Case. lowercase is a sensible habit for files headed to a web server, where Photo.JPG and photo.jpg are two different files.
Batch Rename does not touch your originals. Each file is copied unchanged under its new name into the folder you chose, so the pictures and their metadata stay exactly as they were. If you want the old names gone, turn on Move originals to Trash: once every file has been saved to the new folder, the originals go to the Trash, where you can still get them back.
Frequently asked questions
How do I rename photos by the date they were taken on a Mac?
In Batch Rename, use the {date} token in the template, for example {date:yyyy-MM-dd}_{counter:03}.{ext}, and set Sort by to EXIF date. OtterPix reads the capture date from each photo’s EXIF data and numbers the files in the order they were taken.
What happens if a photo has no EXIF date?
The {date} token falls back to the file’s modified date. That is typical for screenshots and exported graphics. Check the preview: if a name shows an unexpected date, the file most likely lost its capture date when it was exported.
Can I rename the files in place?
Batch Rename writes renamed copies to a folder you choose and leaves the originals where they are. To end up with only the new names, turn on Move originals to Trash, which moves the originals to the Trash after everything has been saved.
Does renaming change the photos themselves?
No. Each file is copied as it is under its new name. Pixels, quality and metadata are unchanged.
Is Batch Rename free?
Yes. It is one of OtterPix’s free tools, has no file limit of its own and runs entirely on your Mac without uploading anything.
Get OtterPix for Mac
Free on the Mac App Store. Every basic tool is free forever, and nothing you open ever leaves your Mac.

Related guides
Batch Convert, Resize & Rename Images on Mac — One Click
One folder in, finished images out: chain resize, watermark, convert and rename once.
View & Remove EXIF Data on Mac (GPS Location Included)
Your photos know where you live. See the EXIF and GPS inside, then strip it — on your Mac.
How to Convert HEIC to JPG on Mac (Free & Offline)
iPhone photos that won’t open elsewhere? Batch-convert HEIC to JPG on your Mac, offline.