Convert WebP to JPG on Mac (and AVIF to PNG), Offline
Right-click an image on a website, choose Save Image As, and more often than not the file that lands in Downloads ends in .webp, and more and more often in .avif. Websites use these formats because they are small and load fast. The trouble starts when you want to use the picture somewhere else: an older image editor, a slide deck, an upload form or a print service that only takes JPG or PNG.
Your Mac is not the problem. On current macOS, Preview and Quick Look open WebP and AVIF without any extra software. What is missing is a quick way to turn a whole folder of them into JPG or PNG without exporting each one by hand, and without sending the files to a web converter. OtterPix does that on your Mac, free.
JPG or PNG: which one to convert to
WebP and AVIF can each store a photo, a graphic with transparency or even a short animation. JPG and PNG split those jobs between them, so the right target depends on what is in the file:
- JPG for photos. It gives the smallest files of the two and opens everywhere, but it has no transparency.
- PNG for logos, icons, screenshots and anything with a transparent background. It keeps every pixel, so files are larger.
- If you are unsure, convert one file to each and compare. The originals stay untouched either way.
For a fuller comparison of JPG, PNG, WebP, AVIF, HEIC, TIFF and BMP, see our guide to converting HEIC to JPG, which includes a format cheat-sheet.
Converting WebP and AVIF files in five steps
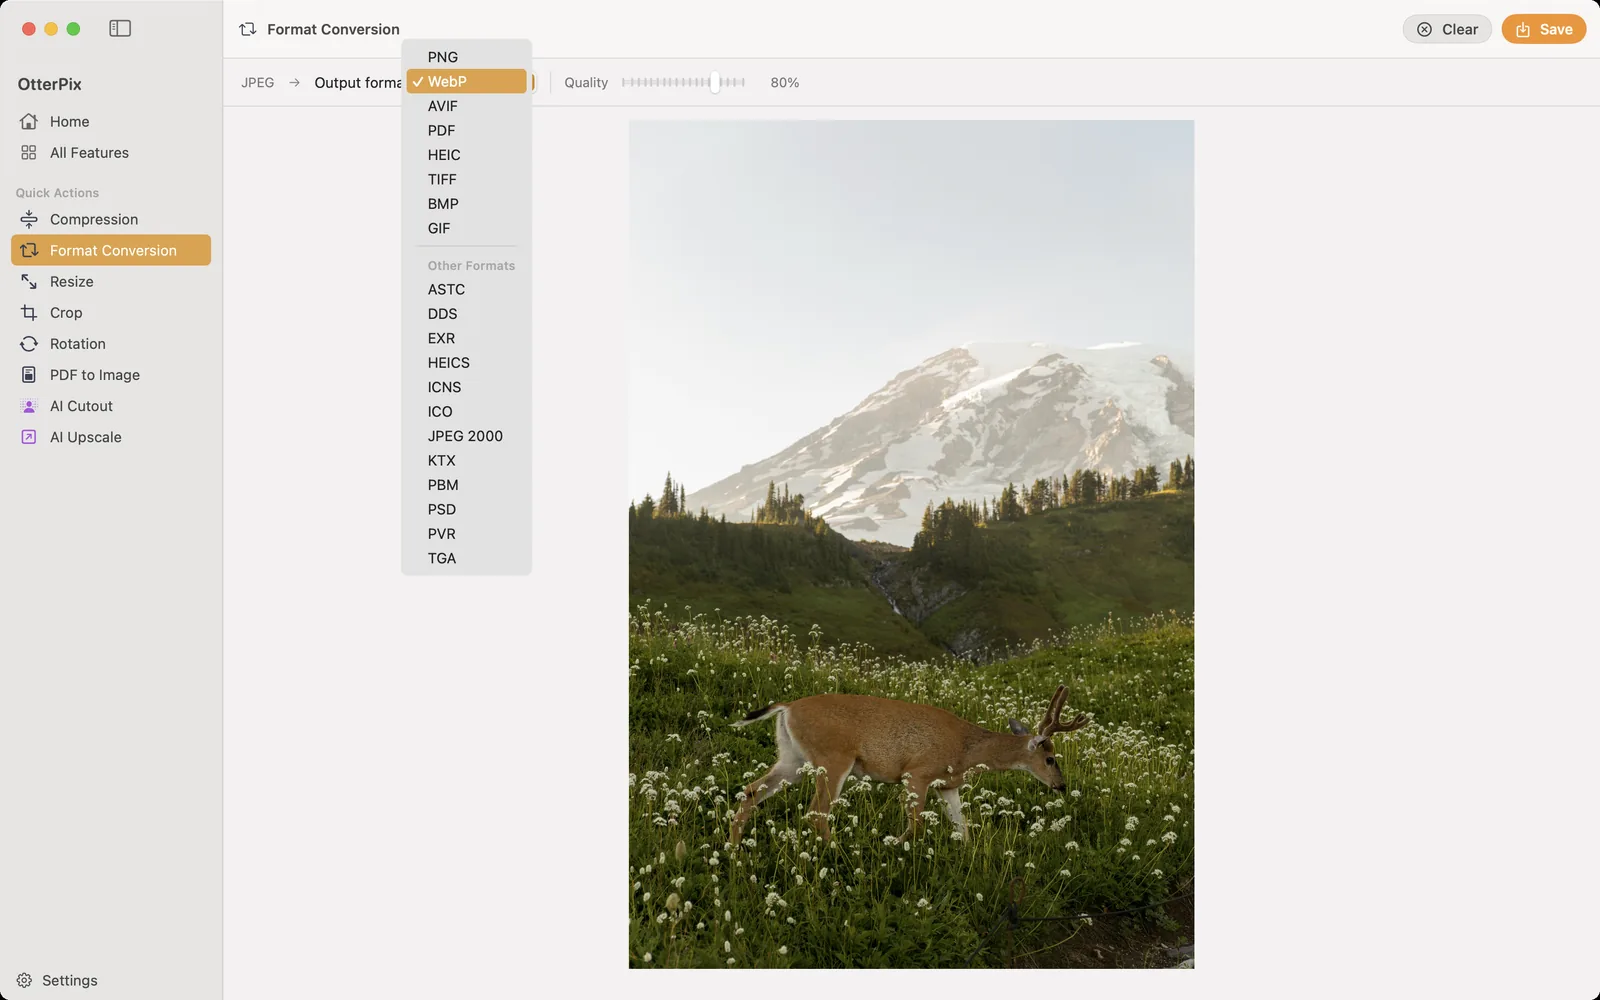
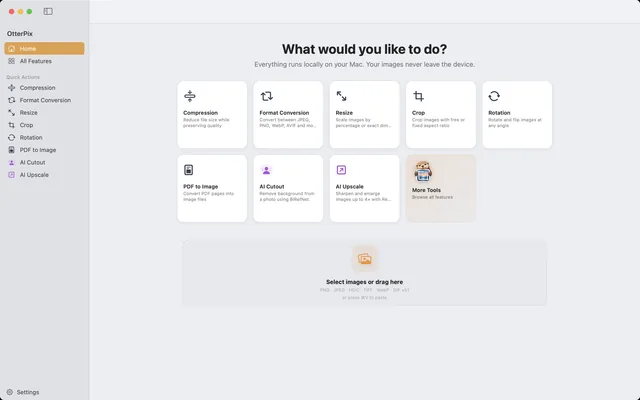
- Open OtterPix and click Format Conversion on the home screen (it is also under Quick Actions in the sidebar).
- Drag your WebP or AVIF files onto the drop zone. You can also click to browse, or copy an image in your browser and press ⌘V to paste it. With several files, a filmstrip appears along the bottom.
- Open the Output format menu and choose JPEG, or PNG if the images have transparency.
- For JPEG, set the Quality slider: higher keeps more detail, lower makes smaller files.
- Click Save (⌘S) for a single image, or Process All for a batch, and choose where the converted copies should go.
Transparency, animation and metadata
Three things can change on the way from WebP or AVIF to another format, and each has a simple answer:
- Transparency: JPEG has no alpha channel, so transparent areas are filled in. A logo or cut-out on a transparent background should go to PNG instead.
- Animation: an animated WebP or AVIF becomes a still image. OtterPix uses the first frame and tells you so when such a file is loaded.
- Metadata: converting to JPG or PNG carries over whatever metadata the original has. Converting to WebP or AVIF works the other way round: those files carry no metadata at all.
Going the other way: JPG to WebP or AVIF for the web
The same tool also converts in the opposite direction, which is useful if you run a website. Choose WebP or AVIF in the Output format menu and your photos usually come out noticeably smaller than the JPEGs they came from. Because WebP and AVIF files carry no metadata, the location and camera details of the originals are not published along with them.
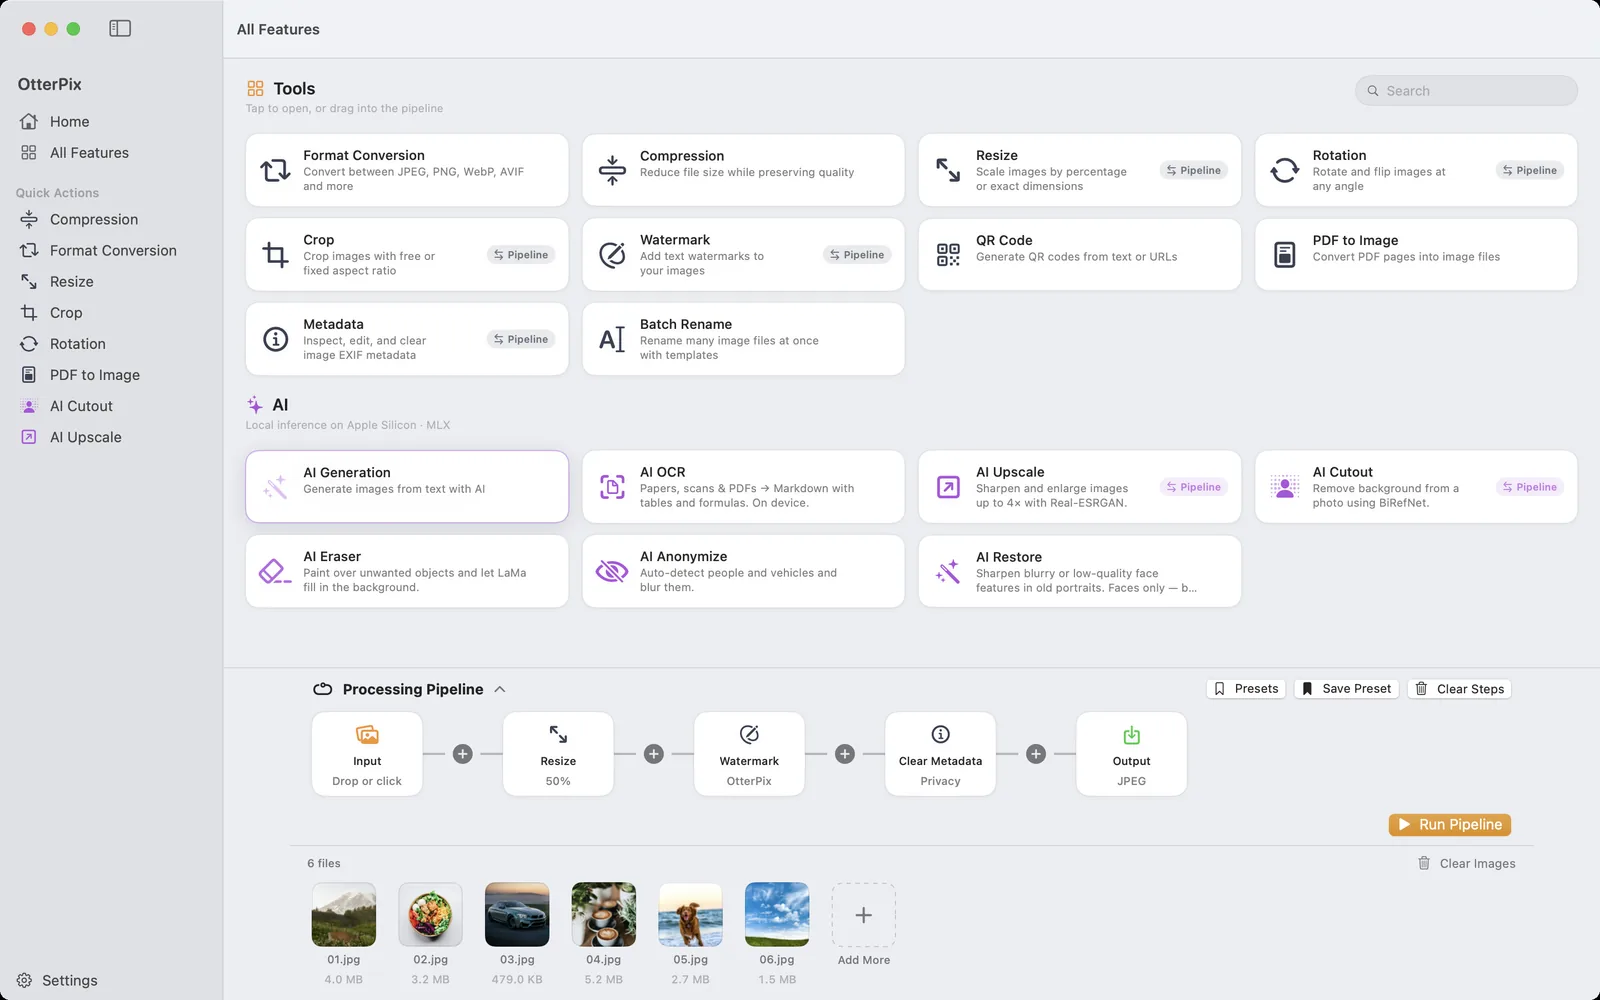
For a regular batch, the Processing Pipeline is quicker. Its Output node sets the format and quality for every image in the run, so a Resize step and the conversion to WebP happen together. Save the setup as a preset and each new set of images is one click.
Frequently asked questions
How do I open a WebP file on a Mac?
Double-click it. On current macOS, Preview opens WebP and AVIF files, and pressing the Space bar in Finder shows them in Quick Look. You only need to convert when the file is going somewhere that does not accept the format.
Does converting WebP to JPG lose quality?
JPG is re-encoded, so a little detail can be lost; at a high Quality setting the difference is very hard to see. If you need an exact copy of every pixel, convert to PNG instead, which is lossless but larger.
Can I convert a whole folder of WebP images at once?
Yes. Drag all the files into Format Conversion, choose the output format and click Process All. Every file is converted in one pass, and the originals stay where they were.
Why did my transparent WebP lose its transparency?
It was converted to JPEG, which cannot store transparency, so the transparent areas were filled in. Convert it to PNG to keep the transparent background.
Is the converter free, and does it work offline?
Yes to both. Format Conversion is one of OtterPix’s free tools and runs entirely on your Mac. No internet connection is needed, and nothing is uploaded.
Get OtterPix for Mac
Free on the Mac App Store. Every basic tool is free forever, and nothing you open ever leaves your Mac.

Related guides
How to Convert HEIC to JPG on Mac (Free & Offline)
iPhone photos that won’t open elsewhere? Batch-convert HEIC to JPG on your Mac, offline.
Compress Images on Mac Without Visible Quality Loss
Shrink photos for email, web or cloud — and see the new file size before you save.
Resize Multiple Images on Mac to Exact Pixels or Percent
Every photo under 1920 px, or exactly half size? Scale a whole batch at once without stretching a single image.