Resize Multiple Images on Mac to Exact Pixels or Percent
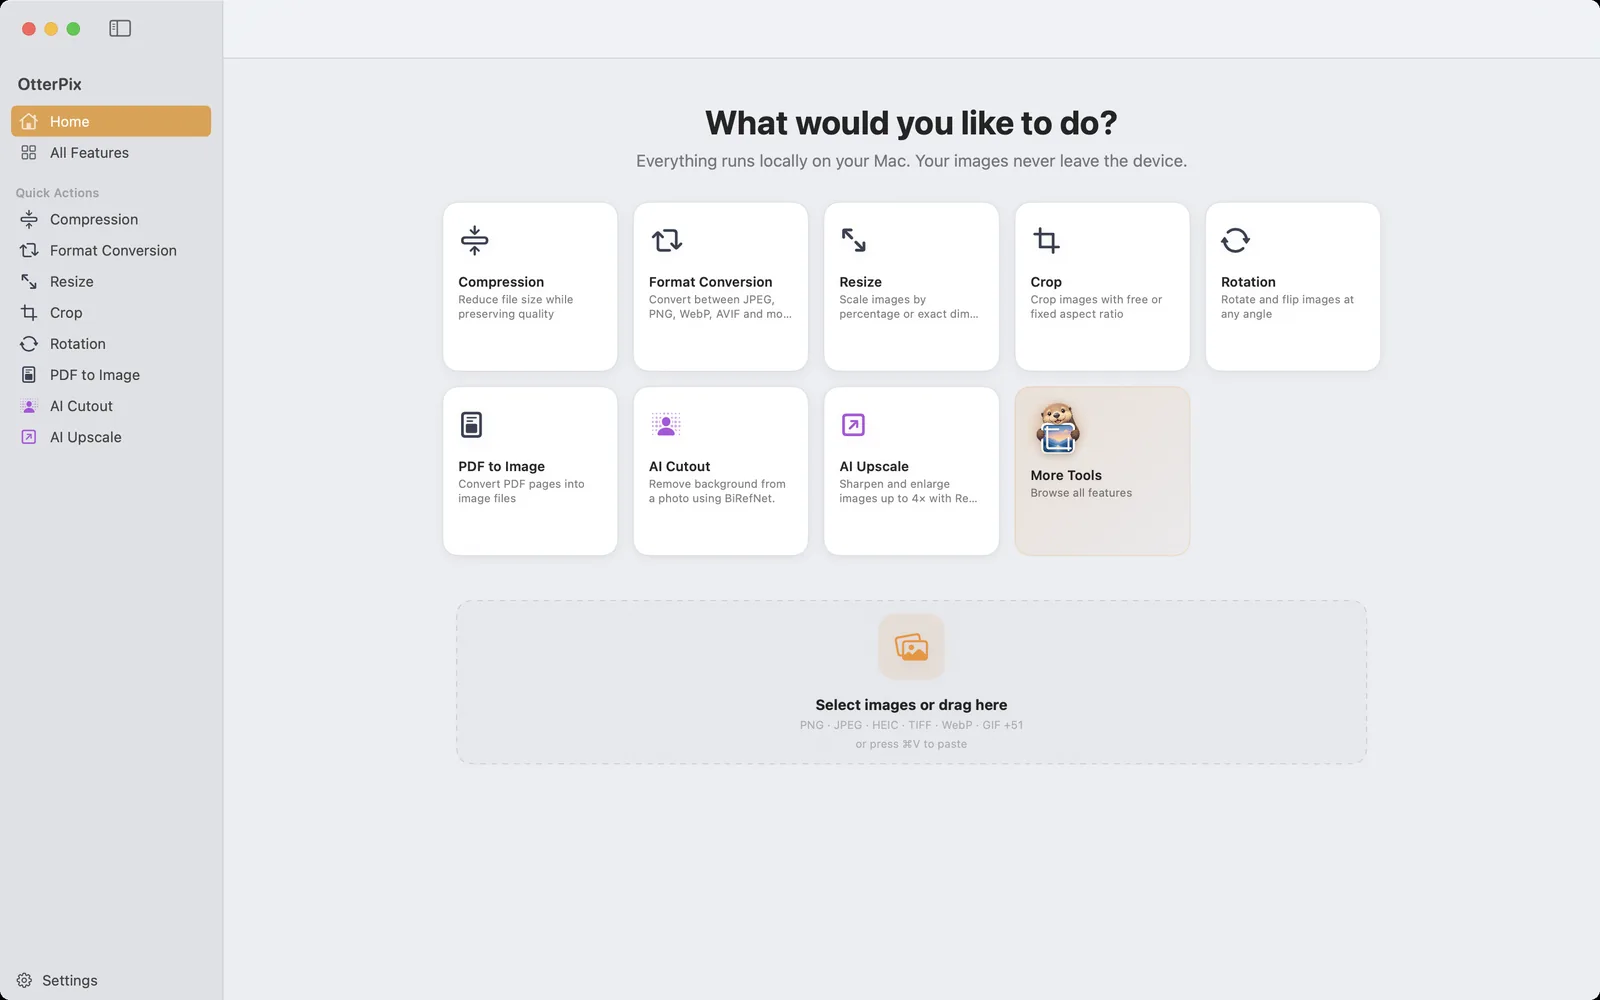
A current phone photo is several thousand pixels wide. That is great for printing and far too much for almost everything else: a blog post, a product listing, an upload form that rejects anything over 2,000 pixels, an email to someone on a slow connection. The fix is to make the image smaller in pixels, and when there are forty photos, to do it for all of them at once.
macOS can resize a picture in Preview with Tools → Adjust Size, but Preview changes the file you opened rather than making a copy. OtterPix’s free Resize tool works on copies, handles a whole batch in one go, and has a mode built for folders where portrait and landscape shots are mixed. Everything happens on your Mac.
Percentage, exact pixels or a box to fit in
There are three ways to say how big the result should be, and which one fits depends on whether you are resizing one image or many.
- Percentage: drag the slider anywhere from 10% to 400%, or click one of the 25%, 50%, 100%, 200% and 400% chips. Every image keeps its proportions and is scaled by the same factor.
- Exact pixels, for a single image: type into the W and H fields. The chain-link icon between them is Lock aspect ratio, on by default, so typing a width fills in the matching height. Click it to unlock and set both freely, knowing that the picture will stretch.
- Fit within, for a batch: enter a width and a height as a box. Each image is scaled to fit inside it while keeping its own aspect ratio, and images that are already smaller stay unchanged. A box of 1920 × 1920 gives landscape shots a width of 1920 and portrait shots a height of 1920.
Whichever you pick, a small badge on the preview shows the original size and the new size in pixels, so you can check the numbers before anything is saved.
Resizing a batch of photos, step by step
- Open OtterPix and click Resize on the home screen (it is also under Quick Actions in the sidebar).
- Drag your images onto the drop zone. With more than one, a filmstrip of all the files appears along the bottom.
- Choose a percentage with the slider or a chip, or type a width and height under Fit within.
- Click any image in the filmstrip to see it on its own; the badge shows that image’s current and new size.
- Click Process All, choose a folder with Select Output Folder, and the resized copies are written there. Save This exports only the selected image.
For a single image the last step is simply Save (⌘S). The copies keep the format of each original, so a JPEG stays a JPEG and a PNG stays a PNG, and details such as the capture date and camera stay in the file.
Exactly 1080 px wide: the Pipeline route
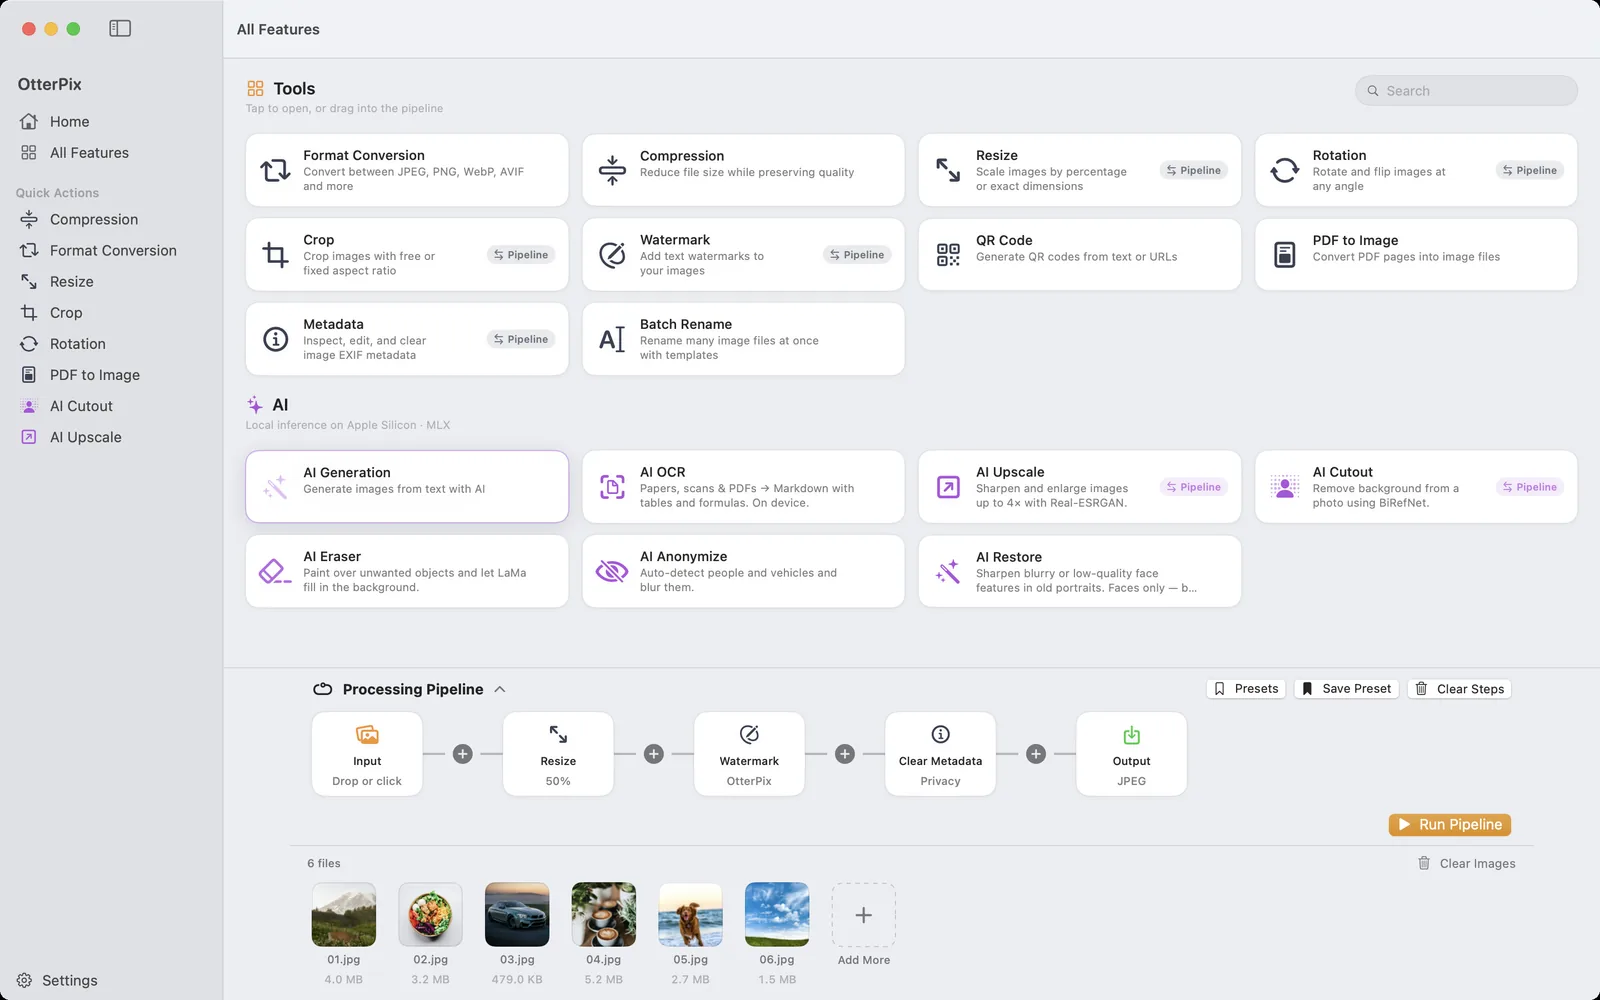
Sometimes the rule is a fixed width, for example every image exactly 1080 pixels wide for a website, whatever its height. The Resize step in the Processing Pipeline does that. Turn on Custom Size, keep the aspect ratio locked and fill in only the width: every image comes out at that width with its own height. Fill in both fields with the lock on and each image fits inside the box; unlock it and every image becomes exactly that width and height.
The Pipeline also handles what usually comes next. Its Output node sets the format and quality for the whole batch, so resize, convert to JPEG or WebP and compress happen in one run, and a Watermark or Clear Metadata step can join them. Save the chain as a preset and the next batch is one click.
Smaller is easy, bigger is a different job
Making images smaller works for any photo, and it is also the most effective way to cut file size: half the width and height means a quarter of the pixels. If the files still need to shrink after that, the Compression tool does the rest.
Going above 100% is possible, up to 400%, but Resize can only spread the existing pixels further apart, so an enlarged photo looks softer. To make a small image bigger and sharper, use AI Upscale, which rebuilds detail as it enlarges. It is part of OtterPix Pro, with one free run a day.
Frequently asked questions
How do I resize multiple images at once on a Mac?
Open Resize in OtterPix, drag all the images in, pick a percentage or a Fit within box, and click Process All. Every image is resized in one pass and the copies are saved to the folder you choose; the originals are not changed.
Will resizing stretch my photos?
Not unless you ask it to. Percentages and Fit within always keep each image’s proportions, and for a single image Lock aspect ratio is on by default. Only an unlocked width and height that do not match the photo’s shape will stretch it.
Can I resize every image to the same exact width?
Yes. Add a Resize step in the Processing Pipeline, turn on Custom Size, keep the aspect ratio locked and enter only the width. Every image comes out at that width, each with its own height.
Does resizing reduce the file size?
Yes. Fewer pixels make a smaller file, often much smaller. For a further cut, run the resized copies through Compression, or set a lower quality on the Pipeline’s Output node.
Is the Resize tool free?
Yes. Resize is one of OtterPix’s free tools, it works with single images and whole batches, and it runs entirely on your Mac without uploading anything.
Get OtterPix for Mac
Free on the Mac App Store. Every basic tool is free forever, and nothing you open ever leaves your Mac.

Related guides
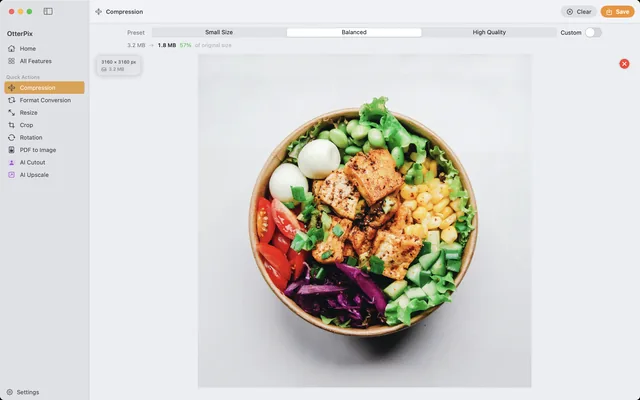
Compress Images on Mac Without Visible Quality Loss
Shrink photos for email, web or cloud — and see the new file size before you save.
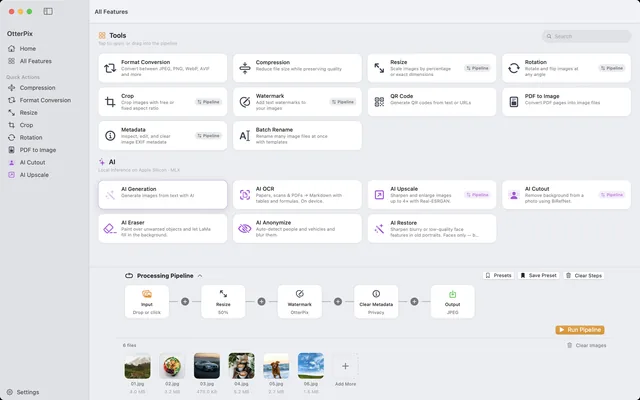
Batch Convert, Resize & Rename Images on Mac — One Click
One folder in, finished images out: chain resize, watermark, convert and rename once.
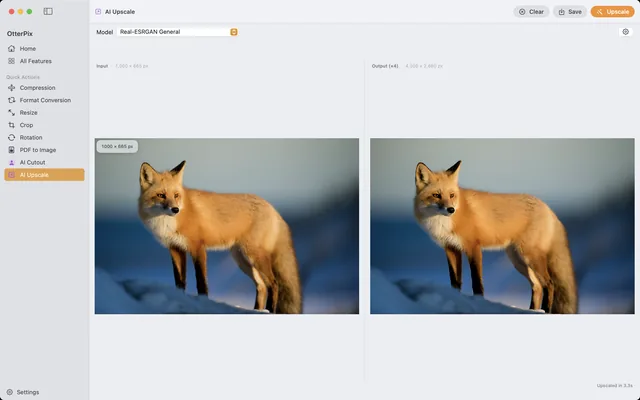
Upscale Images on Mac: 4× Larger with Local AI
Too small for print? Enlarge photos up to 4× with on-device AI — right on your Mac.