Remove Image Backgrounds on Mac — Local AI, No Uploads
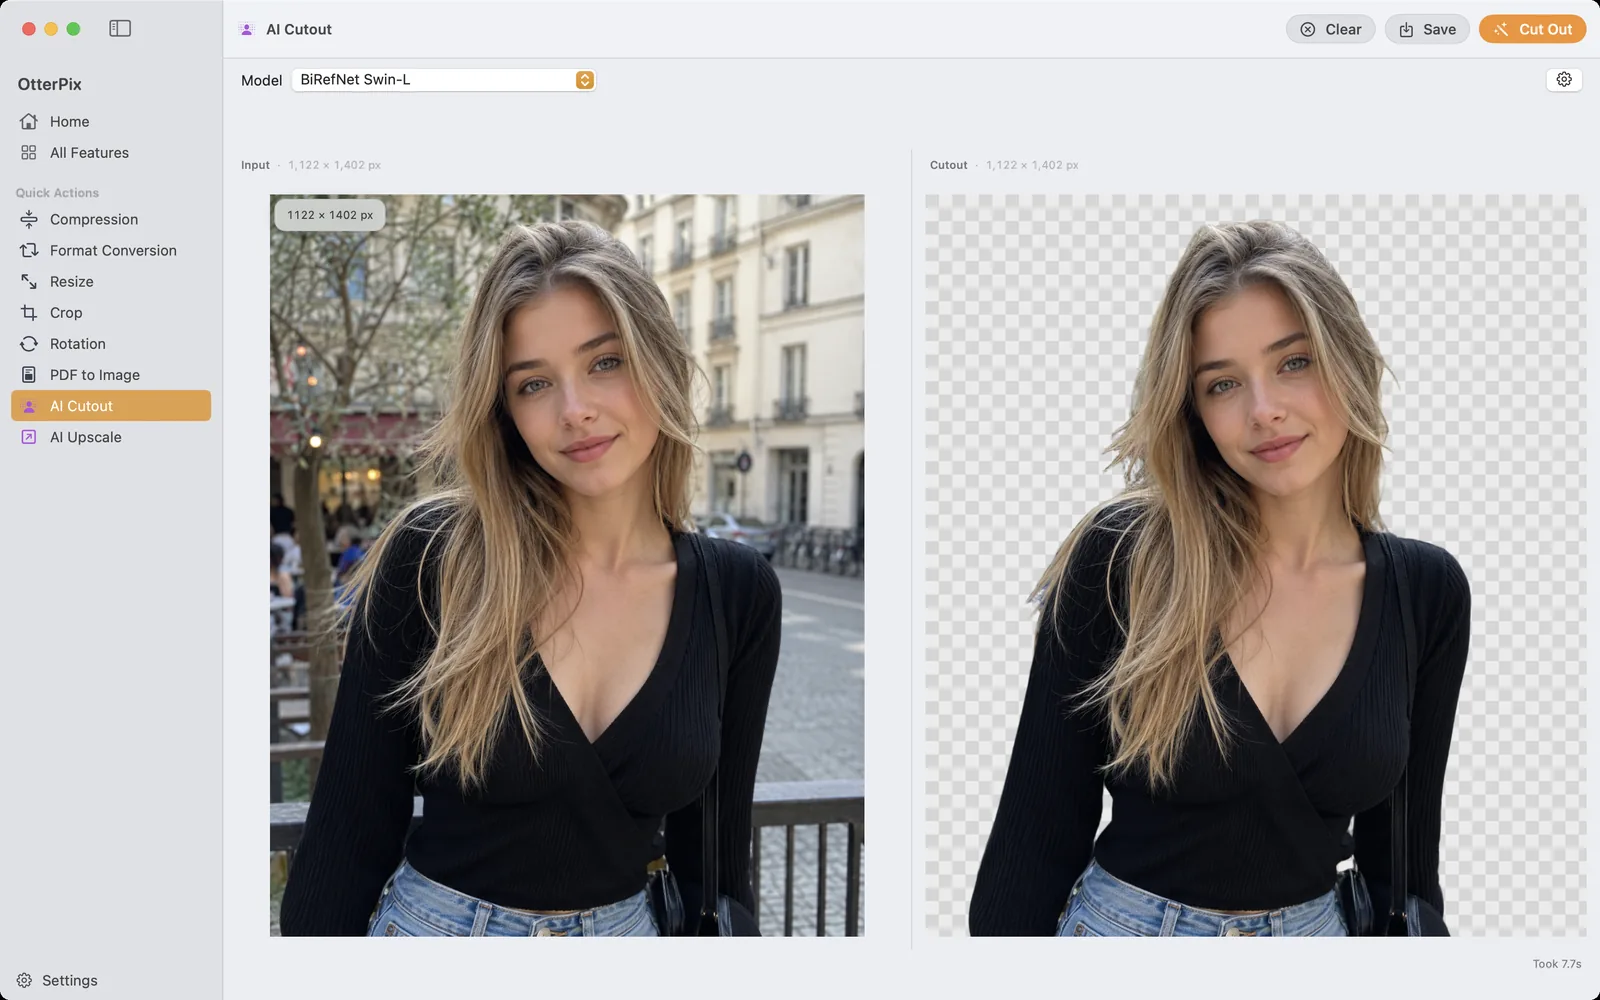
A product photo that has to sit on white, an avatar that should work on any background, a designer asking for “a PNG with transparency, please” — sooner or later, every folder of images produces a background-removal job. The usual Mac answer is a browser tool: upload the photo, wait in a queue, download the result, and hope the free tier didn’t shrink it. OtterPix takes the opposite route — on-device AI separates the subject right on your Mac, refines the edges around hair and fur, makes the background transparent and exports a PNG.
Nothing is uploaded along the way — not the photo, not a thumbnail — and no per-image credits tick down while you work. The AI runs on your Mac’s Apple silicon, inside the app.
Why remove backgrounds locally instead of in a web tool
Web background removers are genuinely convenient, but the deal is easy to forget: every image you drop in is sent to someone else’s server. For holiday snaps that may not bother you; for client work, unreleased products or photos of your kids, it should. A local tool changes the terms — the picture never leaves your Mac, whether you cut out one image or a hundred.
The economics differ too. Web tools typically meter you: a handful of free cutouts, then credits or a subscription, and free tiers often cap the output resolution. OtterPix runs the AI on hardware you already own, so the result keeps the source image’s full pixel size — the Input and Cutout panes show the same dimensions — and subscribers never watch a per-image counter.
And what do people actually cut out? Product shots for a storefront that wants clean white or transparent listings. Portraits that become avatars, team pages and speaker cards. Logos and objects lifted into slide decks, thumbnails and design mockups. In every one of those, the subject is the asset — and a transparent PNG is the one format that drops onto any background without a halo of leftover pixels.
How to remove an image background in OtterPix
The tool is called AI Cutout, and from photo to transparent PNG it takes about four clicks:
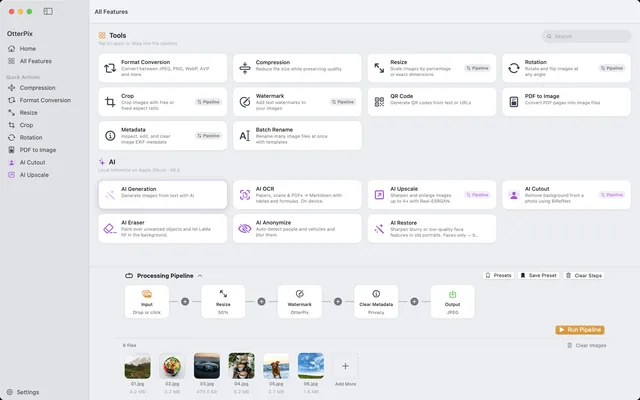
- Open OtterPix and click AI Cutout — it sits in the AI section of the All Features gallery.
- Drag a photo onto the drop zone, or click to browse.
- Pick a quality tier from the Model menu — fast, or flagship for the hardest edges. Each tier is a one-time download on first use; after that, cutouts run without any network.
- Click Cut Out. A few seconds later the Cutout pane shows your subject on a transparent checkerboard.
- Inspect the edges — hair is the acid test — then press Save (⌘S) and choose where the transparent PNG lands.
Hair, fur and fine edges
Whether a cutout is any good is decided at the edges. OtterPix does precise background removal with subject and hair edge refinement, and lets you choose fast or flagship quality: the fast tier (about a 170 MB download) answers quickly, while the flagship tier (just under 800 MB) earns its size on flyaway hair, fur and soft, semi-transparent outlines. Switching is one pick in the Model menu — and because the daily free use is charged per loaded photo rather than per click, you can run both tiers on the same image and compare results without spending a second run.
One photo is a click — a folder is a Pipeline
If you shoot products, you rarely need one cutout; you need forty. For subscribers, AI Cutout is also a step in the OtterPix Pipeline: drop a folder in, chain the cutout with a resize or a text watermark, set the Output node to PNG so the transparency survives, and run the whole batch in one pass — locally, like everything else.
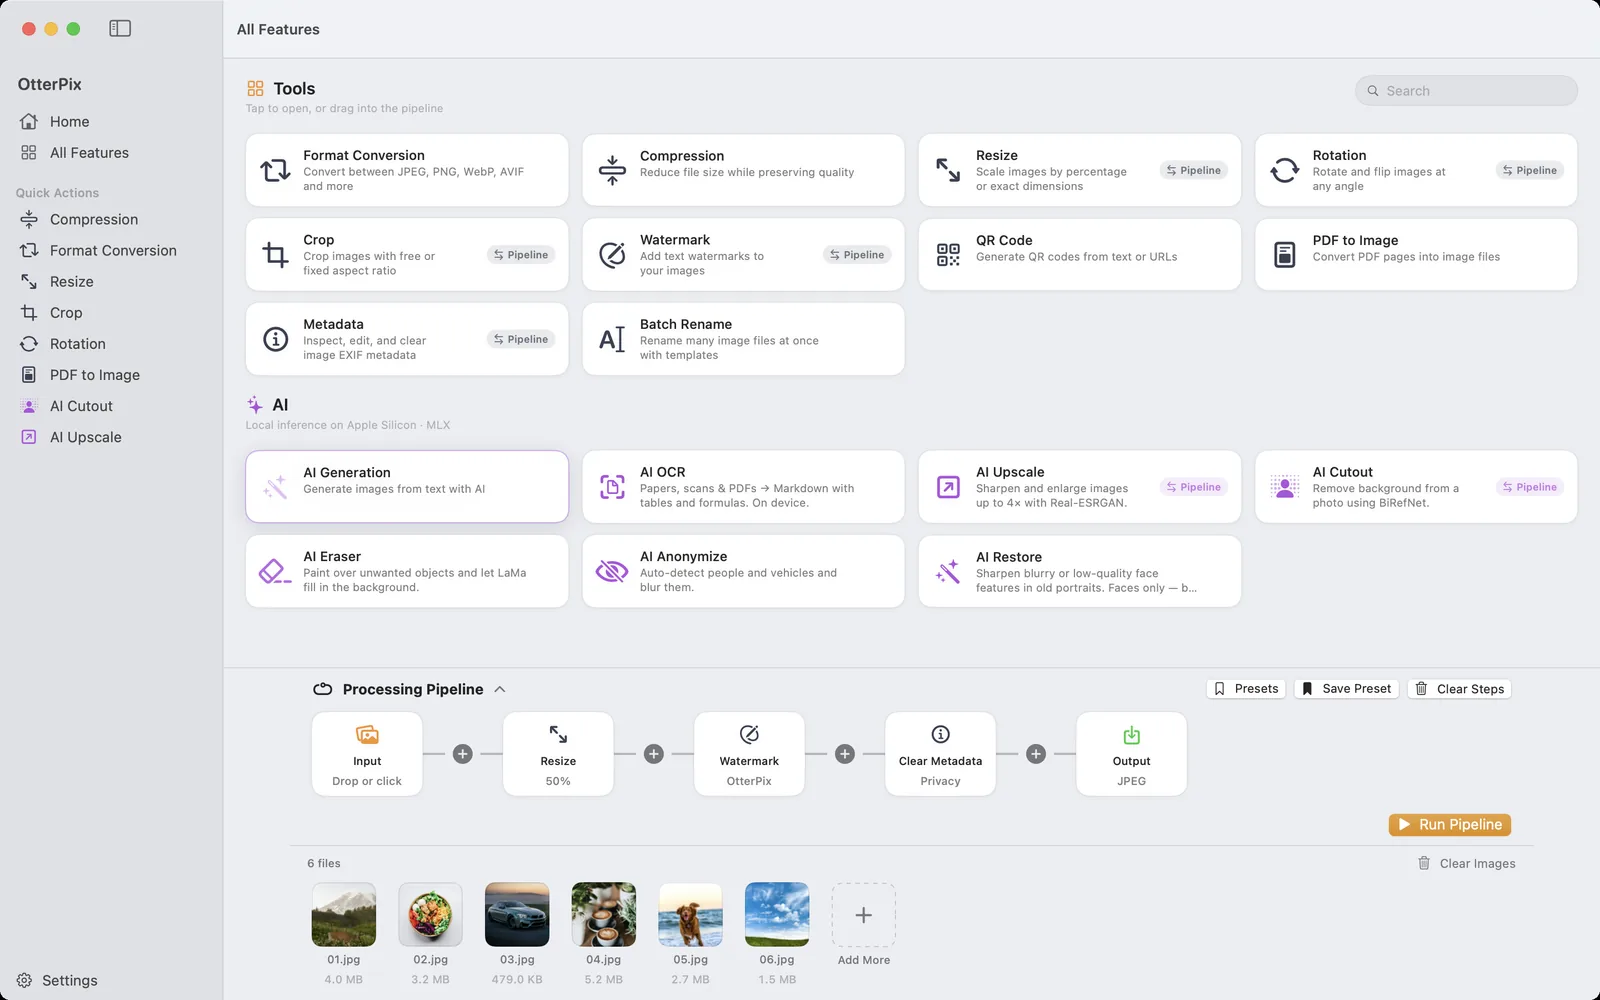
On the free plan the Pipeline stays usable, with two honest limits: one Pro step per pipeline and a single input image. And every Pro AI feature — Cutout included — comes with one free successful run per day, so you can put the hair-edge claim to the test on your own photo before paying anything.
Frequently asked questions
What format does the cutout come out as?
A PNG with a transparent background, saved at the source image’s full pixel dimensions. Drop it into any design tool, slide deck or storefront and it composites cleanly over any background.
How does OtterPix handle hair and fine edges?
Edge refinement runs on the subject outline, and the flagship quality tier is built for exactly these cases — flyaway hair, fur, soft semi-transparent edges. If a strand goes missing, re-run the same photo on the other tier; on the free plan that still counts as the same daily use.
Do I need an internet connection to remove backgrounds?
Only for the one-time model download on first use. After that, cutouts run entirely on your Mac — nothing is ever uploaded, and no network is needed at processing time.
Is background removal free in OtterPix?
AI Cutout is a Pro feature with a real free tier: one free successful run per day, charged per loaded photo — iterating on the same image counts once. OtterPix Pro removes the limits.
Can I remove the background from many images at once?
Yes — subscribers can add AI Cutout as a Pipeline step and process a whole folder in one run. On the free plan, a pipeline is limited to one Pro step and a single input image.
Try it on your own photos
OtterPix is free on the Mac App Store — run each Pro AI feature free once a day. OtterPix Pro unlocks unlimited runs.

Related guides
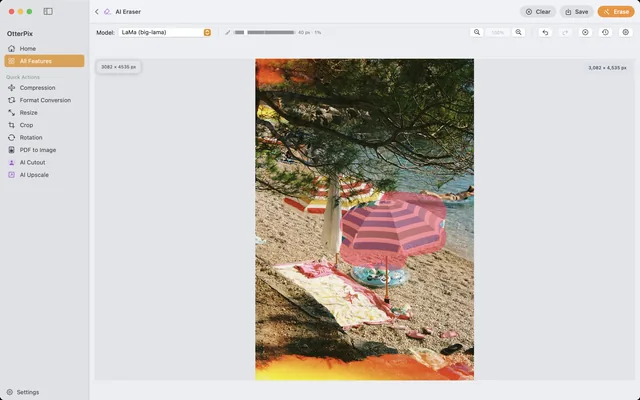
Remove Objects (and People) from Photos on Mac
Tourists, wires, trash cans — brush over them and AI fills the gap, right on your Mac.
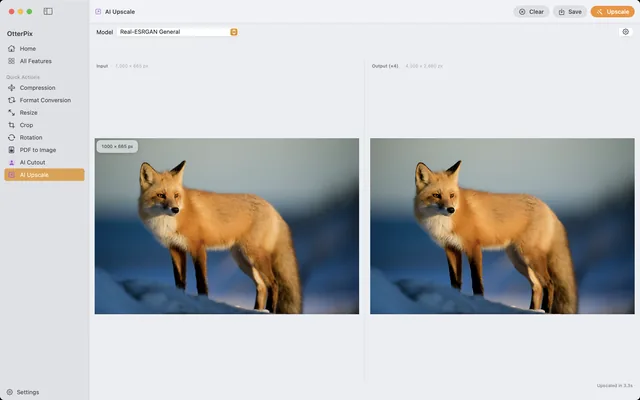
Upscale Images on Mac: 4× Larger with Local AI
Too small for print? Enlarge photos up to 4× with on-device AI — right on your Mac.
Batch Convert, Resize & Rename Images on Mac — One Click
One folder in, finished images out: chain resize, watermark, convert and rename once.