Watch a Folder on Mac and Auto-Convert Every New Image
Some image jobs never end. Every screenshot for the documentation site has to be a WebP. Every export for a client has to shrink to a sensible width and carry a watermark. Every scan from the office printer should be a JPEG, not a huge TIFF. Doing the same conversion by hand each time is exactly the kind of chore a computer should handle while you get on with something else.
That is what a watch folder, often called a hot folder, is for. In OtterPix the feature is called Folder Automation: you point a rule at a folder and pick a saved pipeline preset, and from then on every new image that lands in that folder is processed on your Mac and saved to a subfolder named OtterPix Output. No script to write, nothing uploaded, no tool to open.
What happens when a new image arrives
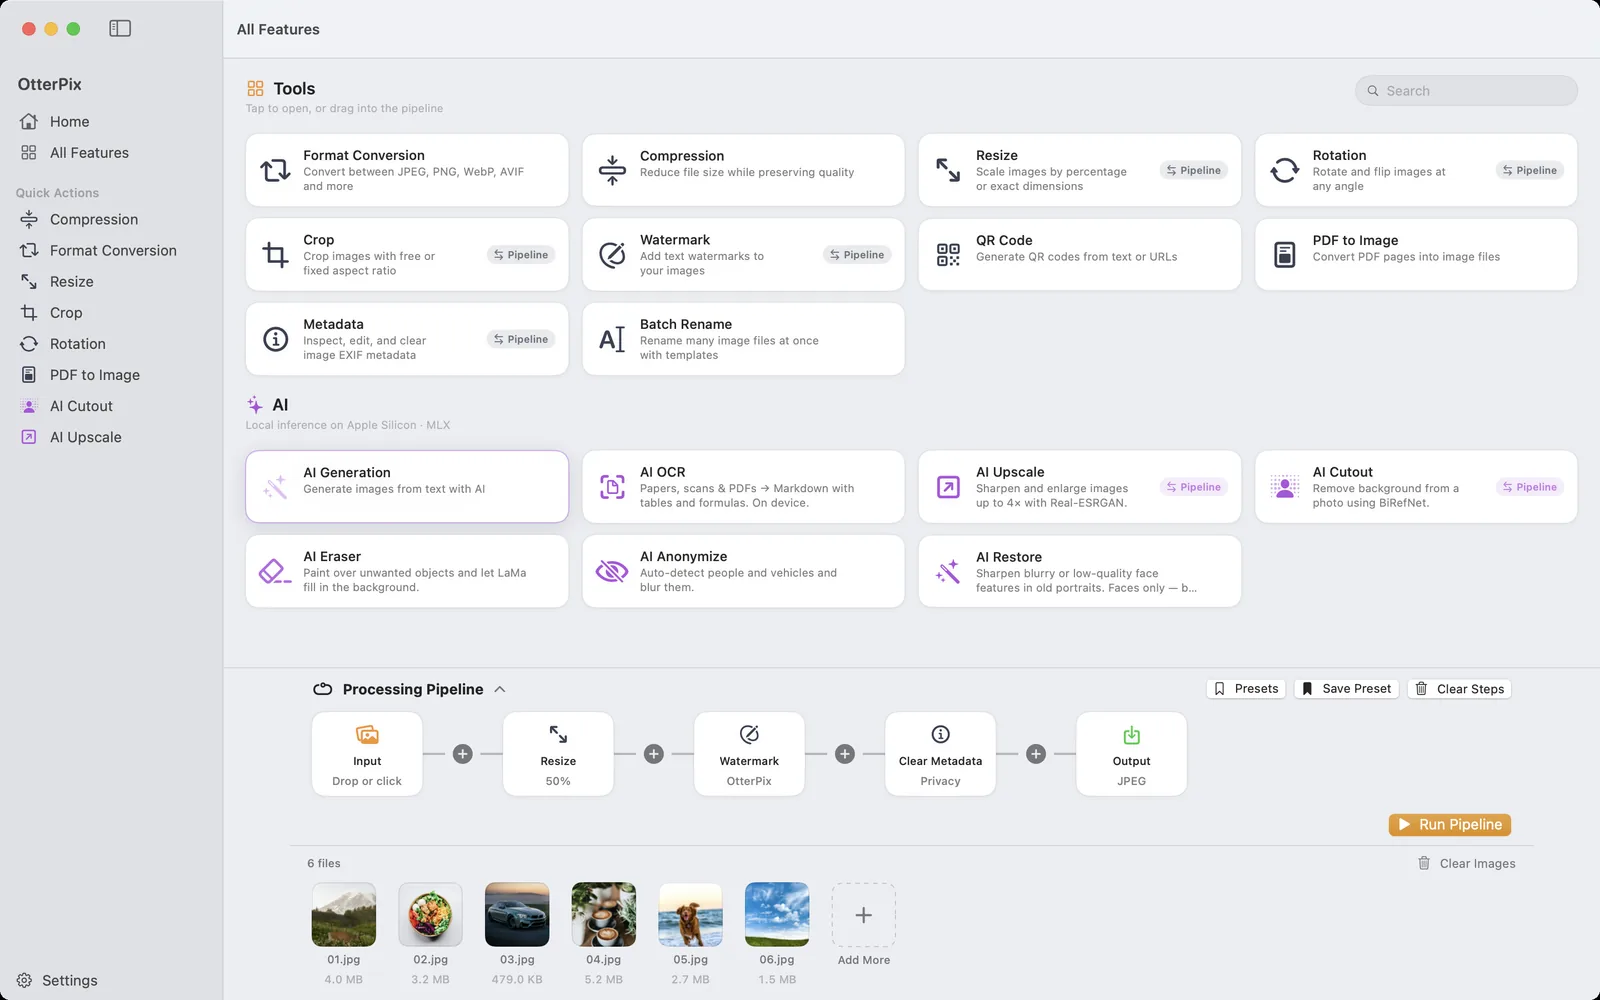
A rule has two parts: a watched folder and a pipeline preset. The preset is the same chain you build in the Processing Pipeline, with Resize, Rotate, Crop, Watermark and Clear Metadata steps and an Output node that decides the format and quality. The AI Upscale and AI Cutout steps can be part of it too. So “convert to JPEG”, “resize to 1600 px and save as WebP” and “strip the location, add a watermark, save as JPEG” are each one rule.
When an image appears in the top level of the folder, OtterPix waits until the file has finished copying, runs the preset on it and writes the result into the OtterPix Output subfolder inside the watched folder. The original stays where it was. Subfolders are ignored, and results are never processed a second time, so a rule cannot loop on its own output. If the folder lives in iCloud Drive and a new file is still only in the cloud, OtterPix requests the download and waits for it.
Setting up a watch folder rule
A rule needs a saved preset. If you do not have one yet, the Automation page shows a Create Pipeline Preset button that takes you to All Features.
- Click All Features in the sidebar and expand the Processing Pipeline docked at the bottom. Add the steps you want, choose the format and quality on the Output node, then click Save Preset and give the chain a name, such as “Web JPEG”.
- Click Automation in the sidebar to open Folder Automation, then click Add Rule… in the toolbar.
- In the New Watch Rule sheet, click Choose Folder… under Watched Folder and pick the folder to watch, for example the one your scans or exports land in.
- Under Pipeline Preset, choose the preset you just saved. The Output section confirms where results go: an “OtterPix Output” subfolder inside the watched folder.
- Click Add Rule. The rule appears in the list with its switch on and the status Watching.
- Save or copy a new image into the folder. Moments later the processed copy appears in OtterPix Output, and the rule shows how many files it processed.
Old files stay untouched, missed files catch up
When you enable a rule for the first time, OtterPix notes the images that are already in the folder and leaves them alone. Pointing a rule at a folder with 3,000 old photos does not start a 3,000-image batch; only images added from that moment on are processed. If you want the existing files converted as well, load them into the Pipeline once and click Run Pipeline.
Rules run while OtterPix is running. Images that arrive while the app is quit are not forgotten, though: the next time you open OtterPix, each rule compares the folder with what it has already handled and processes the newcomers.
The menu bar icon keeps rules alive
The window does not have to stay open. With the menu bar icon on, which it is unless you turn off Show menu bar icon in Settings, closing the window leaves OtterPix running in the menu bar and every rule keeps watching. With the icon off, closing the last window quits the app and stops the rules. The Folder Automation page tells you which of the two applies.
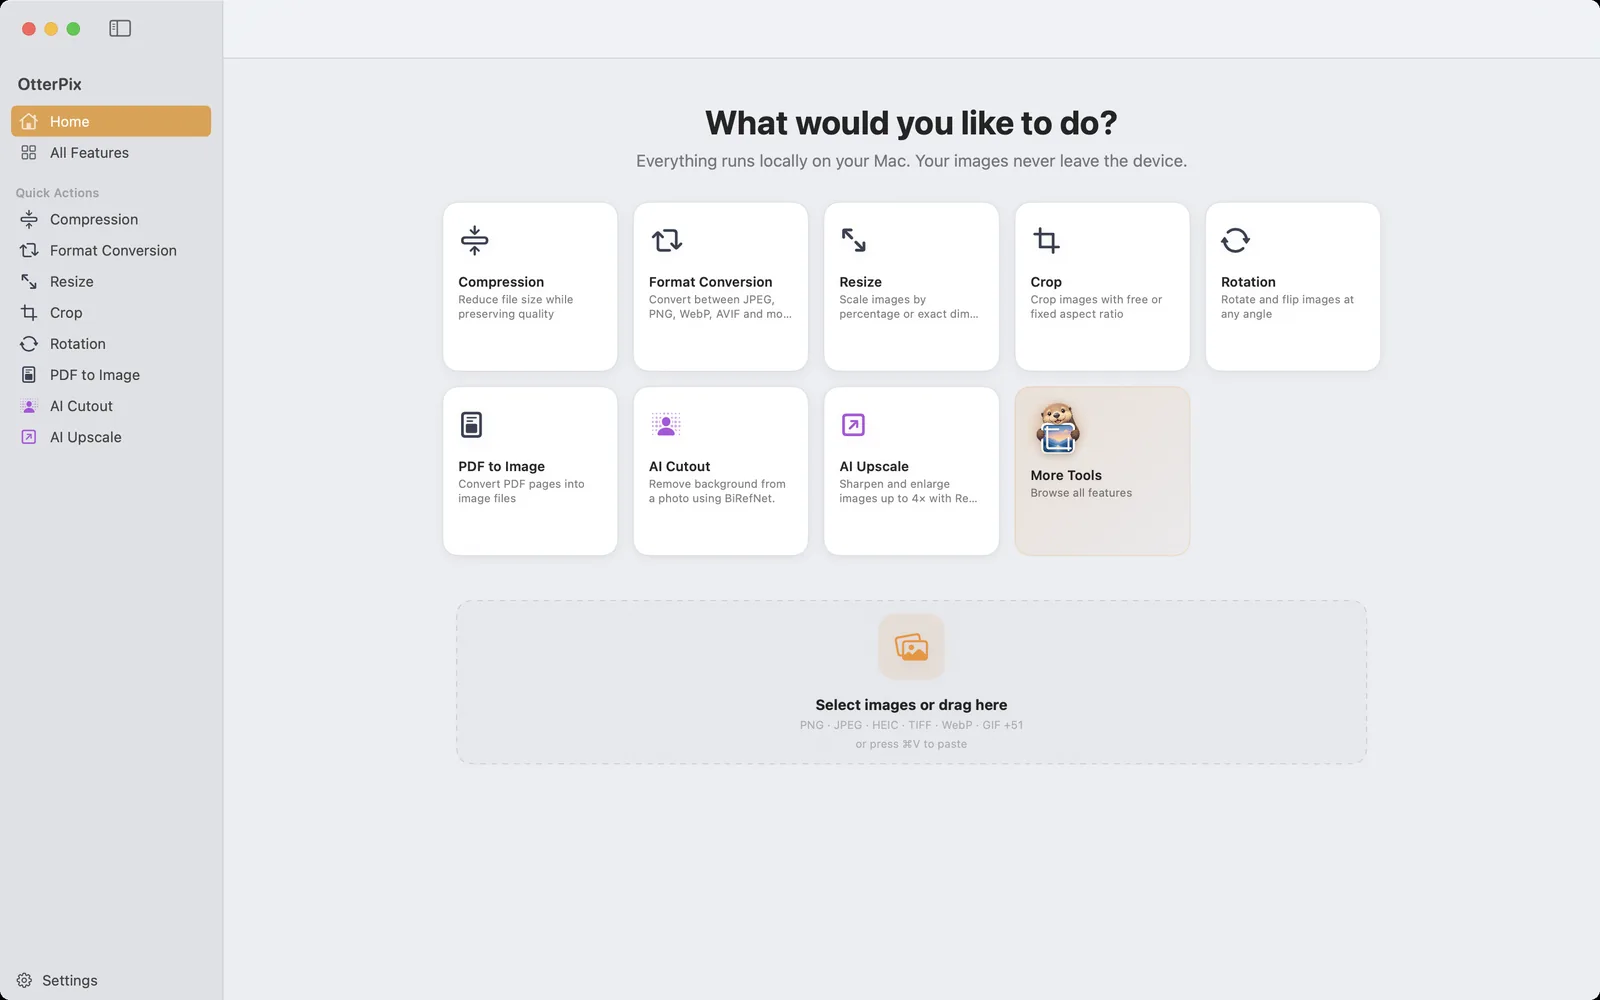
The icon doubles as a small control panel. Click it to open OtterPix; right-click it for Folder Automation…, Pause Automations and Resume Automations. Its tooltip says so when a watch rule needs attention.
Pause, check now and review activity
- Pause Automations, on the Folder Automation page or in the menu bar menu, holds every rule at once until you click Resume. Each rule also has its own switch, so you can stop one folder and keep the others watching.
- Check for New Images, in a rule’s … menu, looks at the folder right away instead of waiting for the next change. It is also how you retry files that failed for a reason you have since fixed.
- Activity lists recent completed runs with the folder, the preset, the number of processed files and any failures. It is stored only on this Mac and keeps up to 100 runs.
When a file cannot be processed, View details lists the file and the reason. A damaged file is skipped until it changes. A problem outside the file, such as an output folder that cannot be written, marks the rule Retry needed, so nothing is quietly dropped: fix the cause and choose Check for New Images.
Two hot folders worth setting up
- iPhone photos to JPEG: watch the folder you AirDrop or import photos into, with a preset whose Output node is set to JPEG. HEIC files arrive, JPEG copies appear in OtterPix Output. Add a Clear Metadata step if the copies go to other people.
- Screenshots for the web: watch the folder you save screenshots to, with a Resize step at 50% and WebP on the Output node. Upload-ready images collect on their own.
Folder Automation and OtterPix Pro
Folder Automation is part of OtterPix Pro, with the monthly, yearly or lifetime plan, and it does not draw on the daily free runs of the AI tools. That holds even when the preset uses only free steps, because the automation itself is the Pro feature. Building and running pipelines by hand stays free. If Pro ends, your rules are kept but paused until you unlock it again.
Frequently asked questions
Will the rule process the photos already in the folder?
No. When a rule is first enabled, the images already in the folder are noted and left untouched; only images added afterwards are processed. To convert the existing ones, load them into the Pipeline once and click Run Pipeline.
Does OtterPix have to stay open for the folder to be watched?
The app has to be running, but the window does not. With the menu bar icon on, close the window and the rules keep working from the menu bar. Images added while OtterPix was quit are processed the next time you open it.
Can a rule save in a different format than the original?
Yes. The format comes from the preset’s Output node: JPEG, PNG, WebP, AVIF, HEIC, TIFF or BMP, at the quality you set there. A rule can turn HEIC into JPEG, or JPEG into WebP, while it resizes.
Are images in subfolders processed too?
No, only images in the top level of the watched folder. Subfolders are ignored, including the OtterPix Output folder where results are saved, so results are never processed again.
Are my images uploaded anywhere?
No. Every rule runs on your Mac and writes its results into the watched folder. The activity list is stored only on this Mac as well.
Try it on your own photos
OtterPix is free on the Mac App Store, and each Pro AI feature runs free once a day. OtterPix Pro unlocks unlimited runs and Folder Automation.

Related guides
Batch Convert, Resize & Rename Images on Mac — One Click
One folder in, finished images out: chain resize, watermark, convert and rename once.
Automate Image Tasks on Mac with Shortcuts and AppleScript
Resize, convert or run a saved pipeline from a shortcut or a script, without opening a window.

Resize Multiple Images on Mac to Exact Pixels or Percent
Every photo under 1920 px, or exactly half size? Scale a whole batch at once without stretching a single image.